Visualization Guide
MphRead can visualize various forms of information that are hidden during gameplay, such as invisible entities, collision meshes, and entity volumes. Refer to the Viewer Controls guide for a full list of the keyboard shortcuts available for navigating these visualization modes.
Contents:
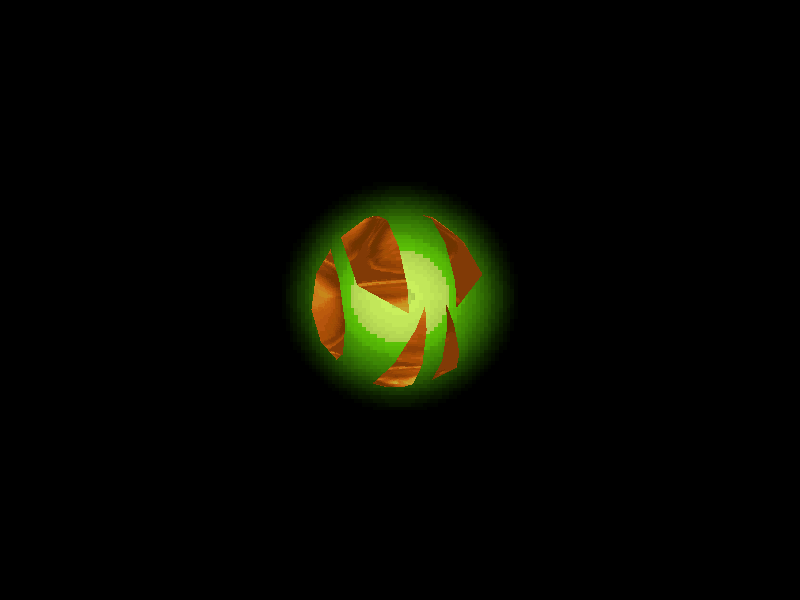
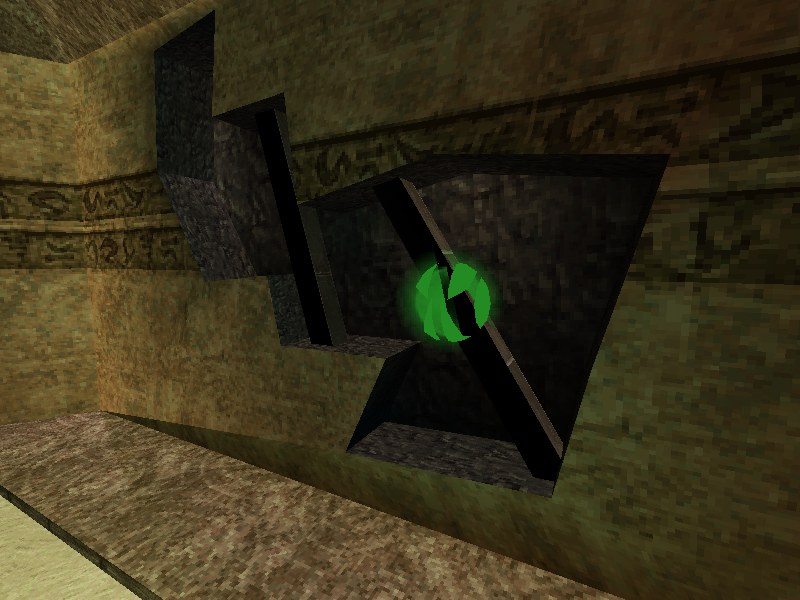
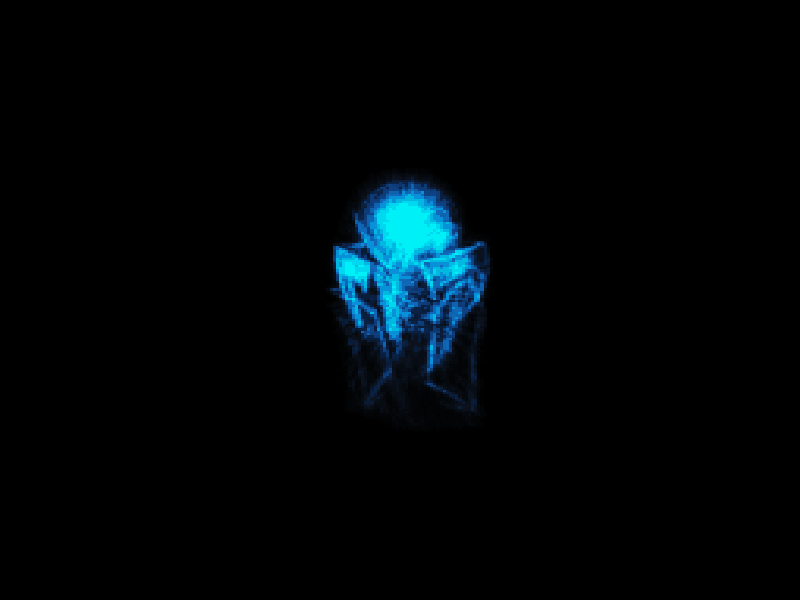
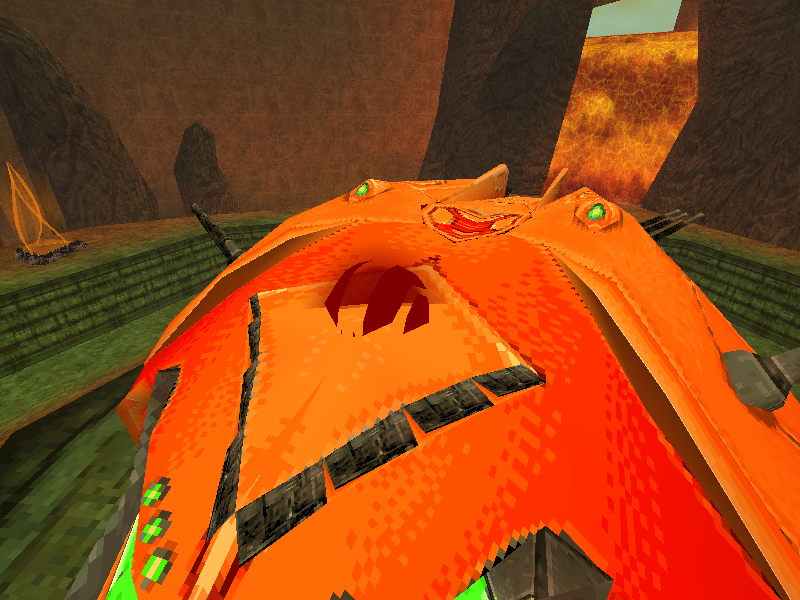
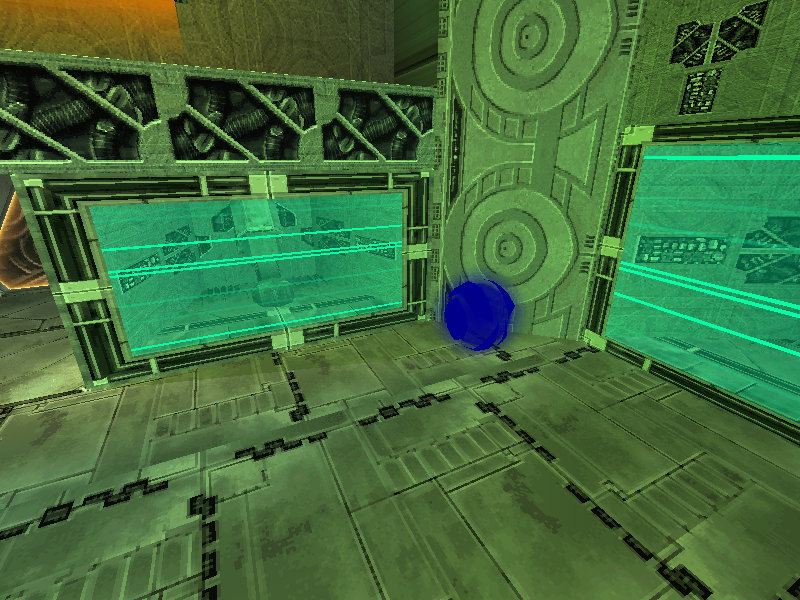
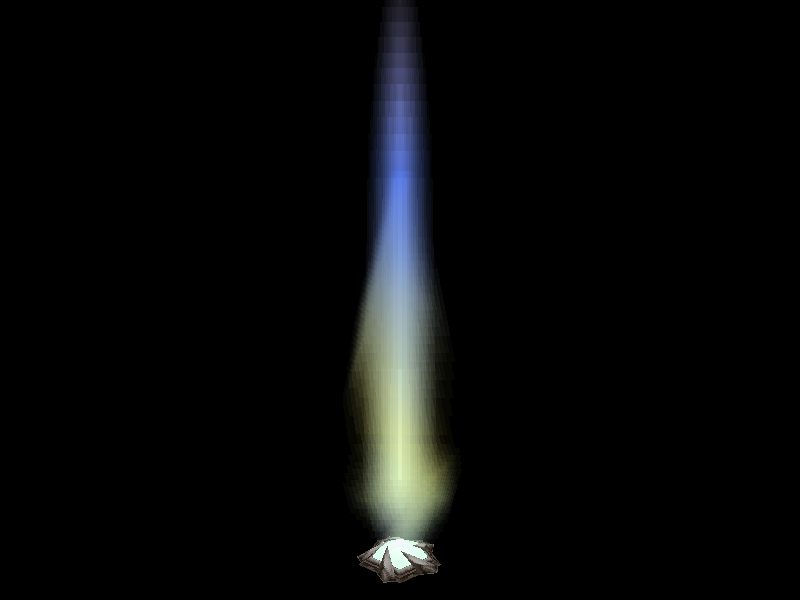
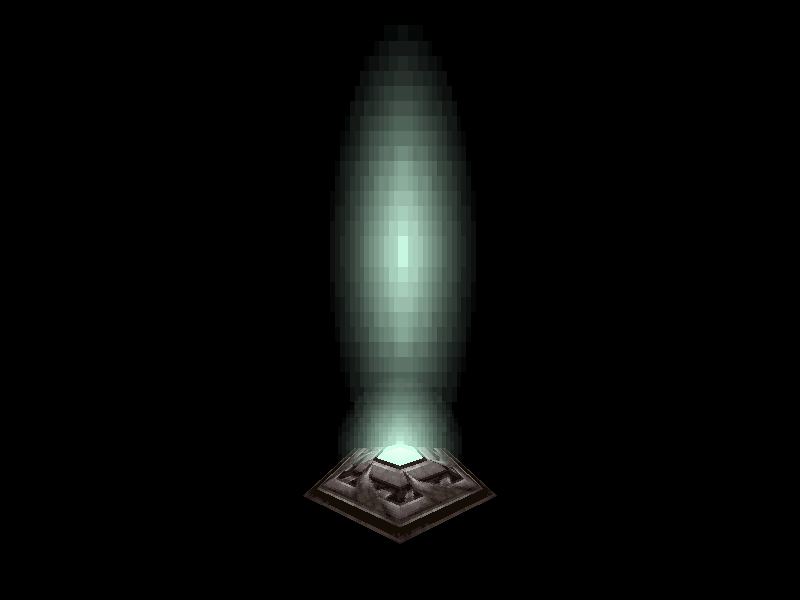
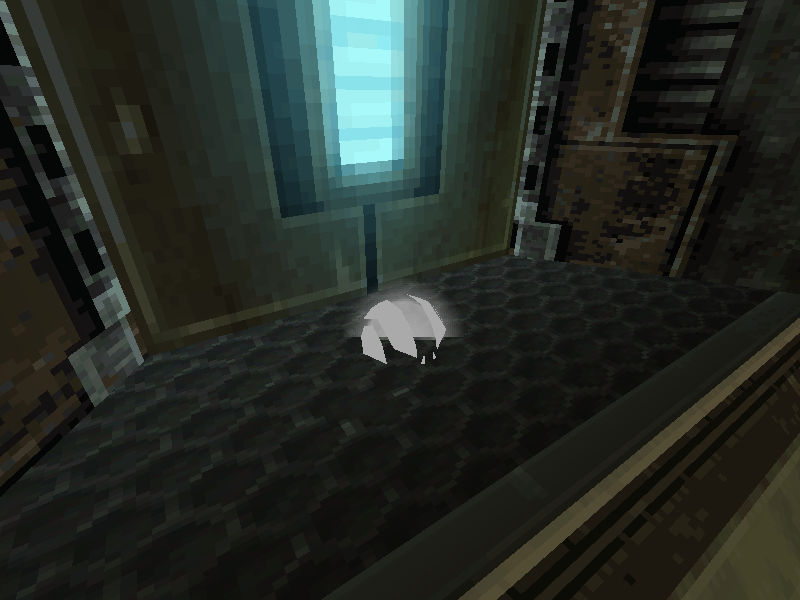
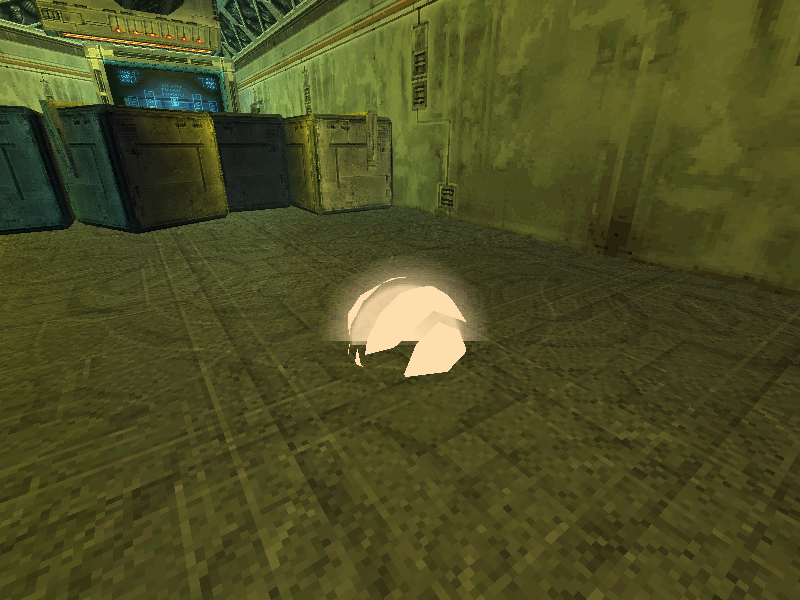
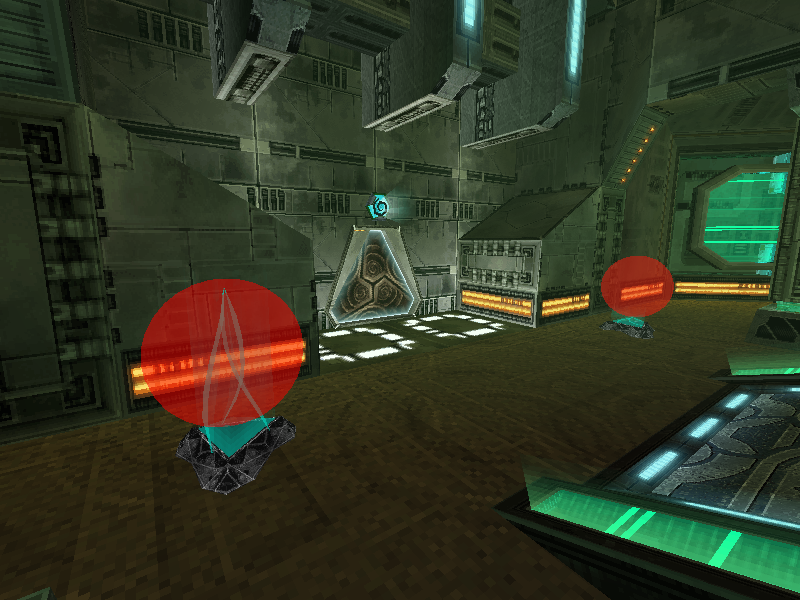
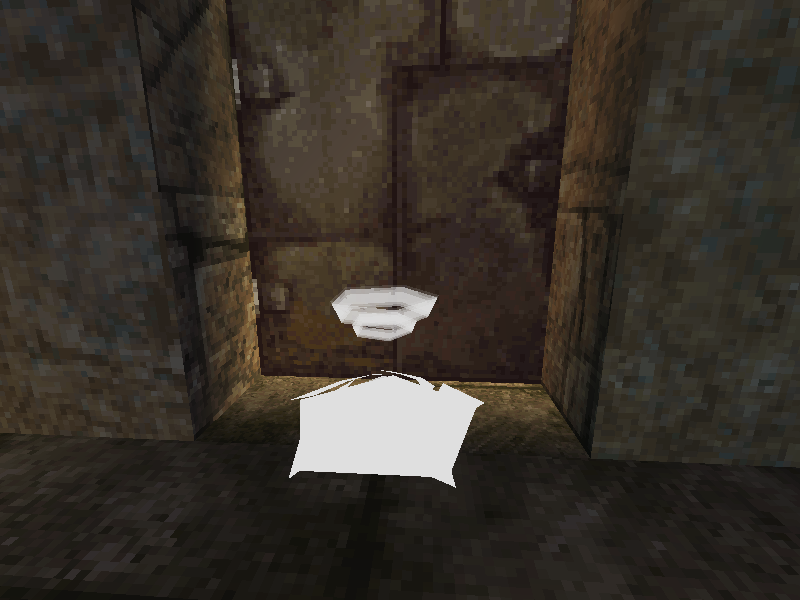
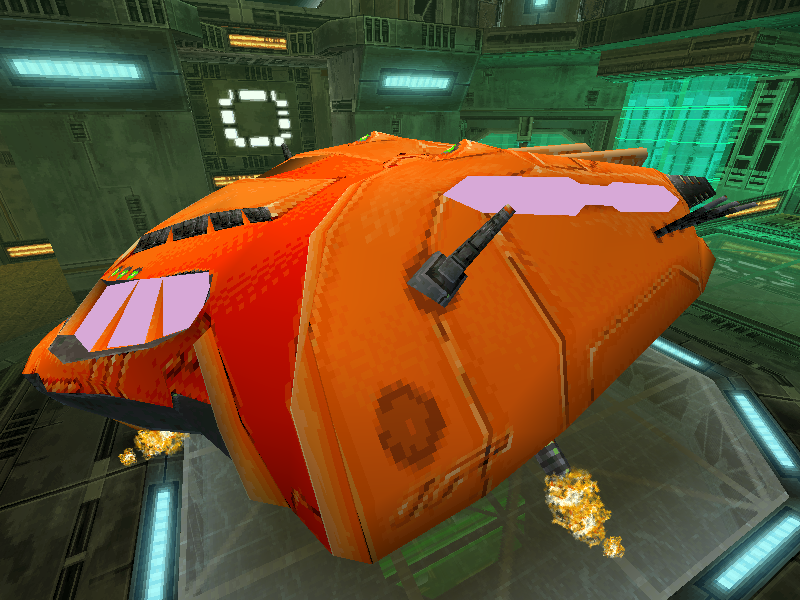
Several entity types are always invisible, and a few others can either have models or be invisible. Invisible entities still have a position in 3D space, and often have an orientation value as well. Toggling invisible entity display with I will make MphRead render these entities with a recolored version of pick_wpn_missile, an unused model in MPH.
Always invisible: No
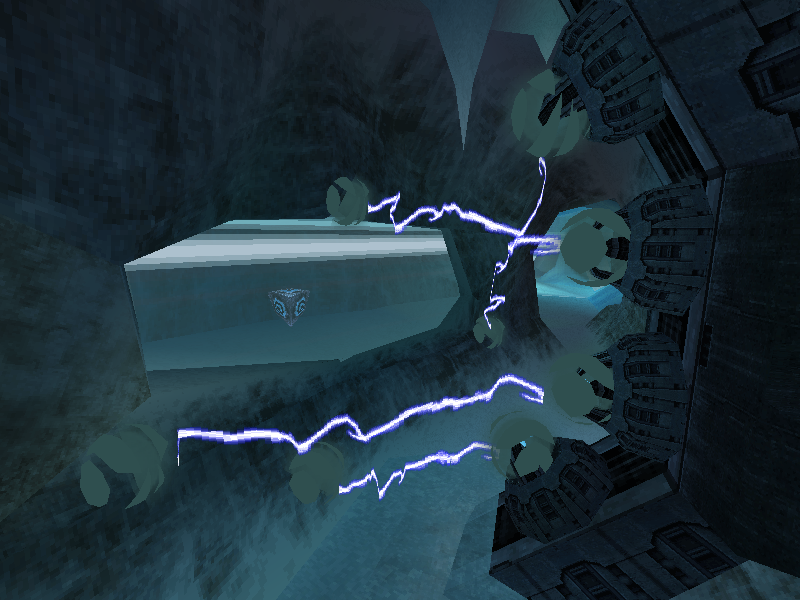
Invisible platforms are used for spawning beams hazards, or as targets for other entities to track (such as effect-spawning objects, or beams spawned by other platforms).
Always invisible: No
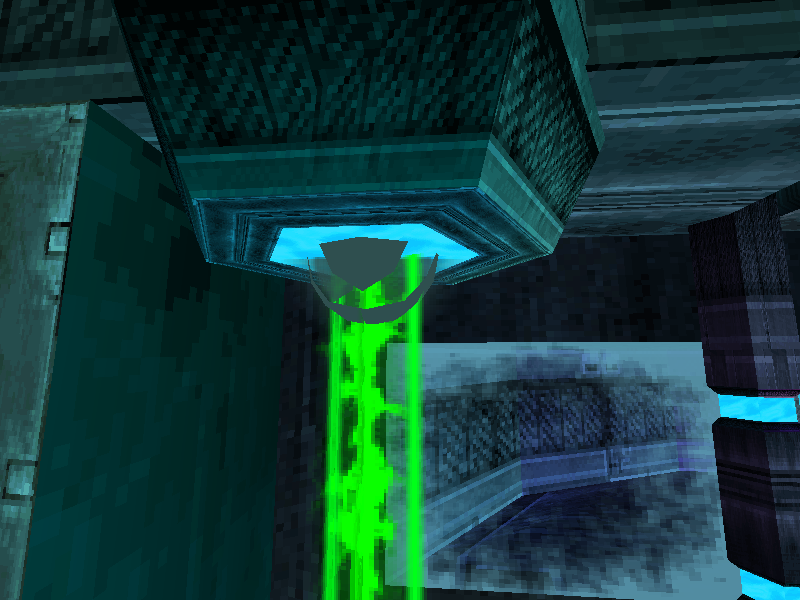
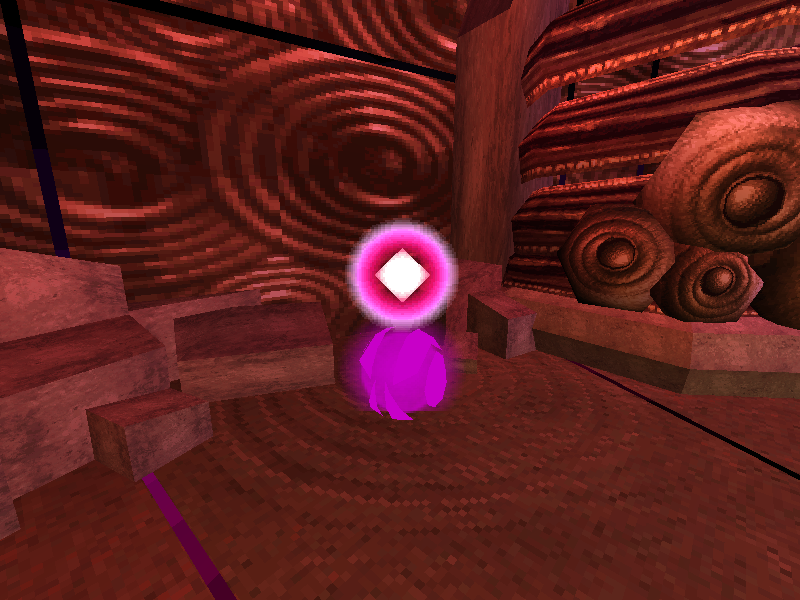
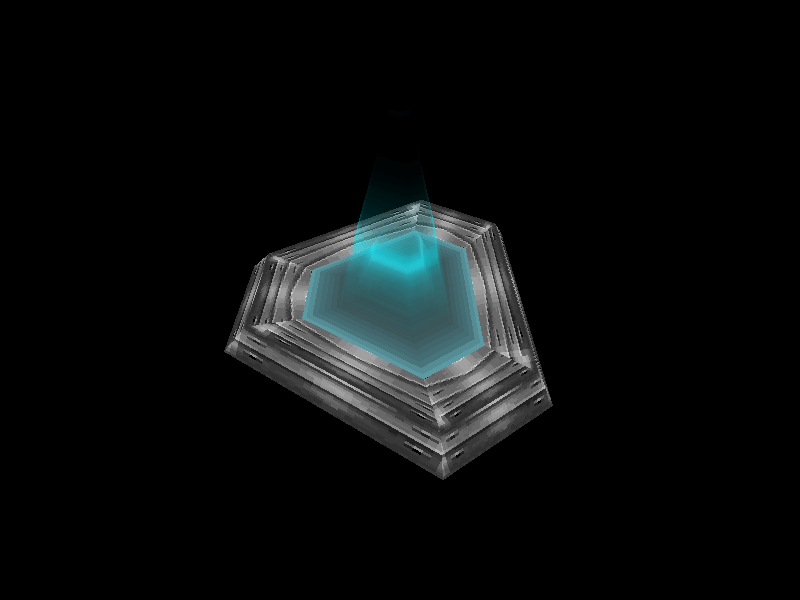
Invisible objects are used to spawn effects, or as scan points for environmental features.
Note that invisible scan point objects are not the same as the objects used for lore scans. The former have no model, while the latter use the AlimbicGhost_01 model while the Scan Visor is active. Additionally, some objects use the GhostSwitch model while the Scan Visor is active.
Always invisible: Yes
Player spawns are invisible entities located at coordinates where players can spawn. The player receives the orientation value of the chosen spawn point as well as its position when spawning there.
Always invisible: No
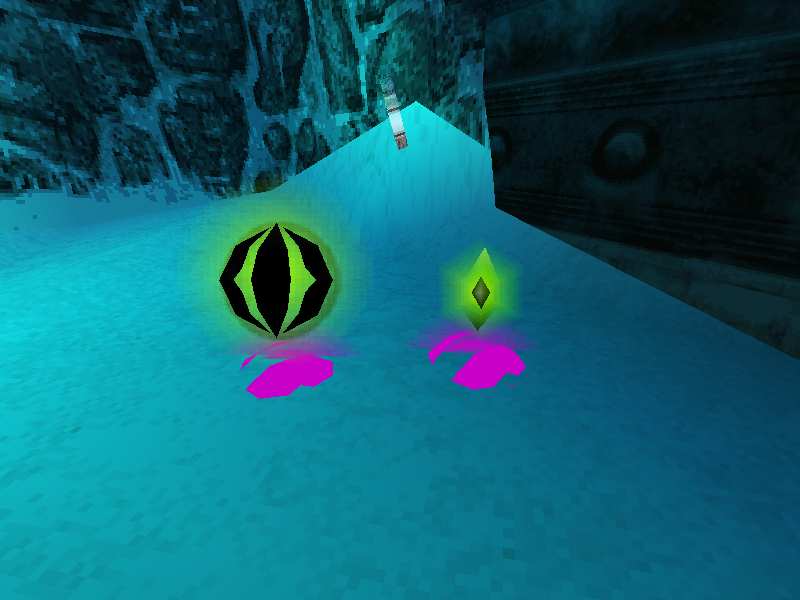
Item spawns hold information for spawning item instances. Most are invisible, but some in single-player mode use the items_base model.
Always invisible: Yes
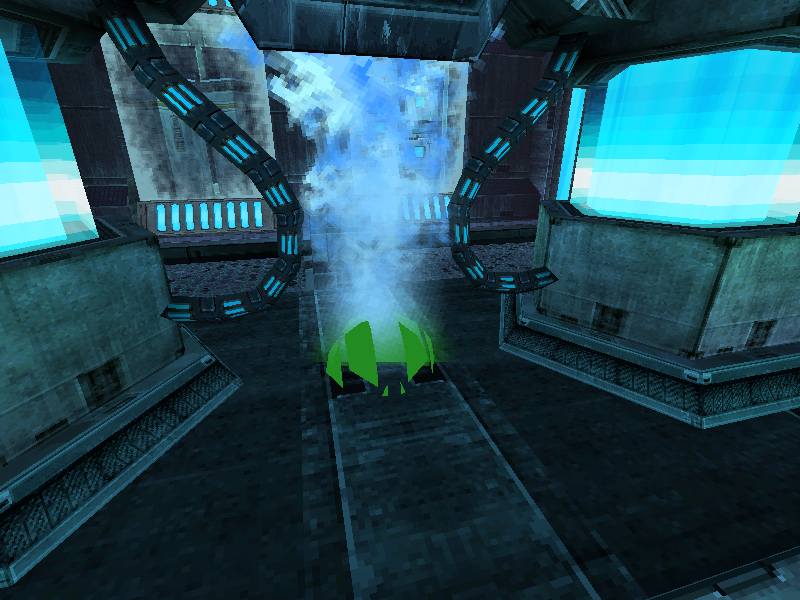
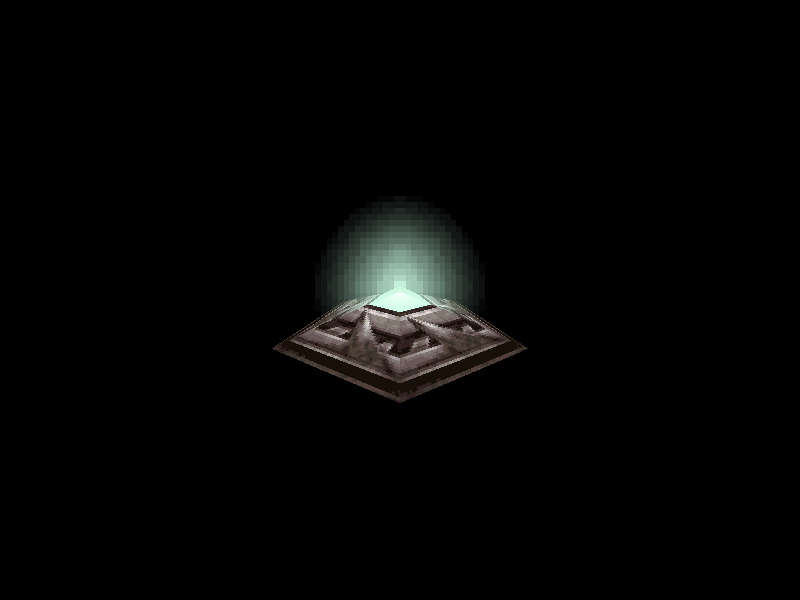
Enemy spawns hold information for spawning enemy instances. Enemy spawns are always invisible, but they can also spawn a special enemy type during initialization that serves as the visible spawner model. These use the EnemySpawner model by default, and use the PlantCarnivarous_Pod model when spawning Barbed War Wasps.
Always invisible: Yes
Triggers are invisible entities which send messages to other entities. There are five different subtypes, one of which has an associated volume that serves as the trigger area.
Always invisible: Yes
Area volumes are invisible entities which are similar to the volume subtype of triggers. They have an associated volume and send messages when the volume is entered or exited.
Always invisible: Yes
Morph camera entities are invisible entities with an associated volume. The game camera becomes fixed at the entity's position and swivels to face the player while they are within the volume and in alt form.
Always invisible: No

A flag base entity is the dropoff point for scoring in Capture and Bounty modes. It has an associated volume used to determine when a player has dropped off an Octolith flag.
This entity is technically only visible in Bounty mode. In that mode, it uses the flagbase_cap model, while the flagbase_bounty model at the pickup point is drawn elsewhere by an Octolith flag entity. In Capture mode, each team has a flag base entity and an Octolith flag entity at the same position, and in that mode, the latter is responsible for drawing the flagbase_ctf model.
Always invisible: No
Teleporters are usually visible, and use one of the TeleporterMP, TeleporterSmall, or Teleporter models. In practice, the only invisible teleporters are some small teleporters in single-player. Additionally, because single-player teleporters require a destination teleporter in the target room, one-way teleports are accomplished with a disabled, invisible teleporter as the destination.
In multiplayer, each teleporter has an invisible destination point within the arena, and this can also be visualized by MphRead.
Always invisible: Yes
Light source entities are associated with volumes which override the room light colors on player entities inside them.
Always invisible: Yes
Some camera sequence entities are responsible for initiating in-game cutscenes, while others behave similarly to morph camera entities. The latter entity type overrides the game camera in order to track the player in alt form, but unlike morph cameras, the camera is not fixed at one point. All camera sequence entities must be activated externally (usually by a trigger or area volume) as they don't have associated volumes of their own.
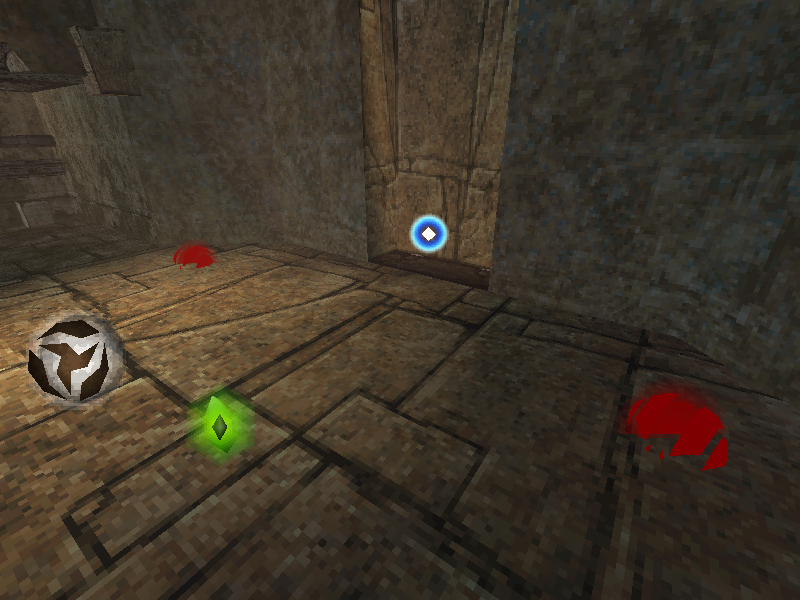
Many entities have associated volumes that are used to check for collision with the player or other entities. MphRead can cycle through various types of volume and plane display with Z.
Note: Alt+H can be used to limit volume display to the selected entity, if any. See the section below for information about entity selection.
- Index 1 (Light 1)
- Index 2 (Light 2)

Light source entities have an associated volume that will override one or both of the room lights for player entities inside it. MphRead colors the volume according to the light color. If one of the entity's lights is disabled, meaning the room light is left unchanged, the volume will be colored black.
- Index 3 (Parent event)
- Index 4 (Child event)
If a trigger entity has the volume subtype, MphRead can display it colored according to the messages it will send. If the message is of type 0 (none), the volume will be colored black.
- Index 5 (Inside event)
- Index 6 (Exit event)
MphRead will display area volumes colored according to the messages they send. If a message is of type 0 (none), the volume will be colored black. Examples of the colors used can be found on the entity page.
- Index 7
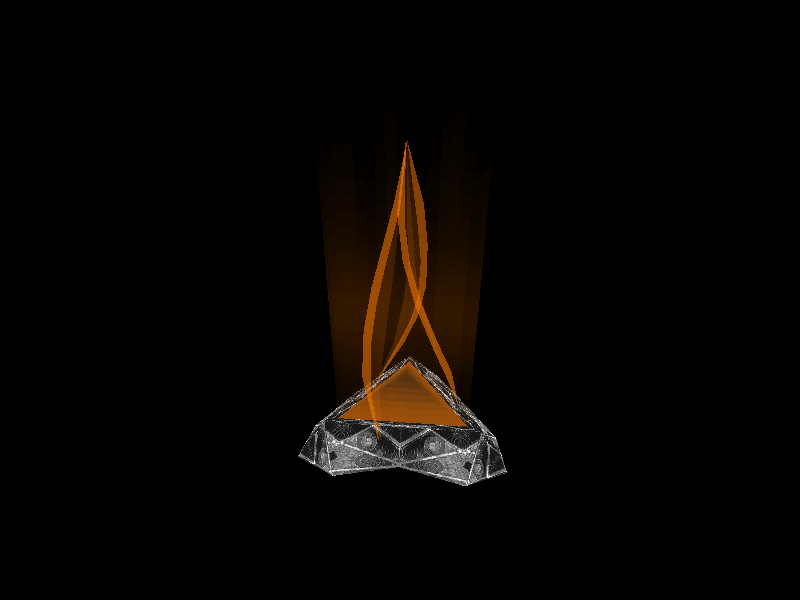
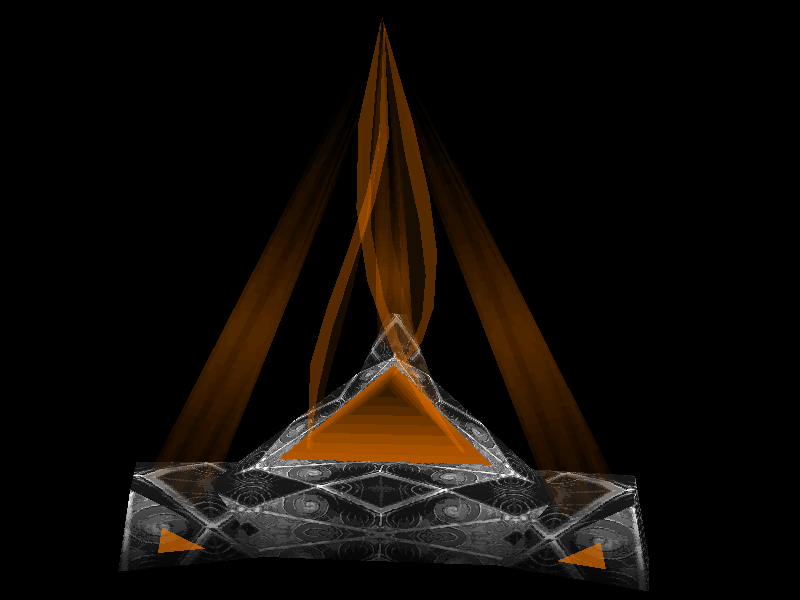
The associated volume of a morph camera entity will be colored yellow. The morph camera becomes active while the player is in alt form and inside this volume.
- Index 8
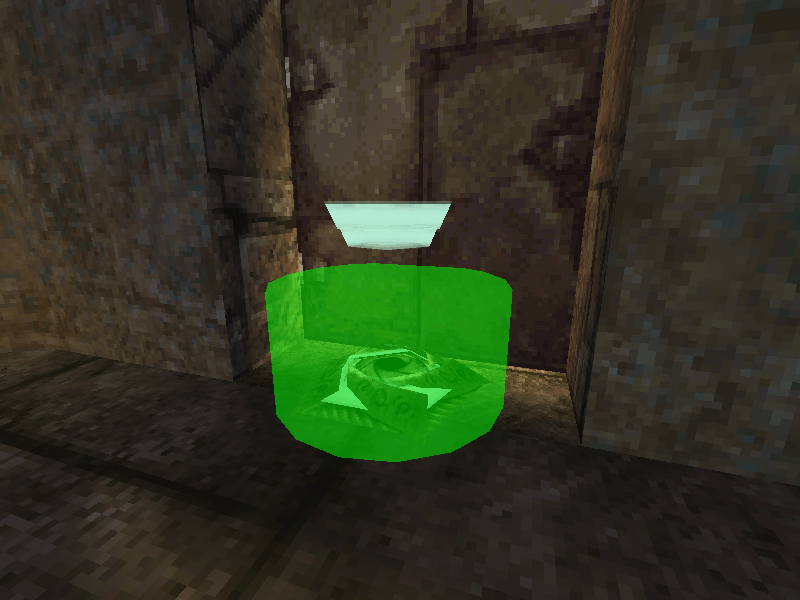
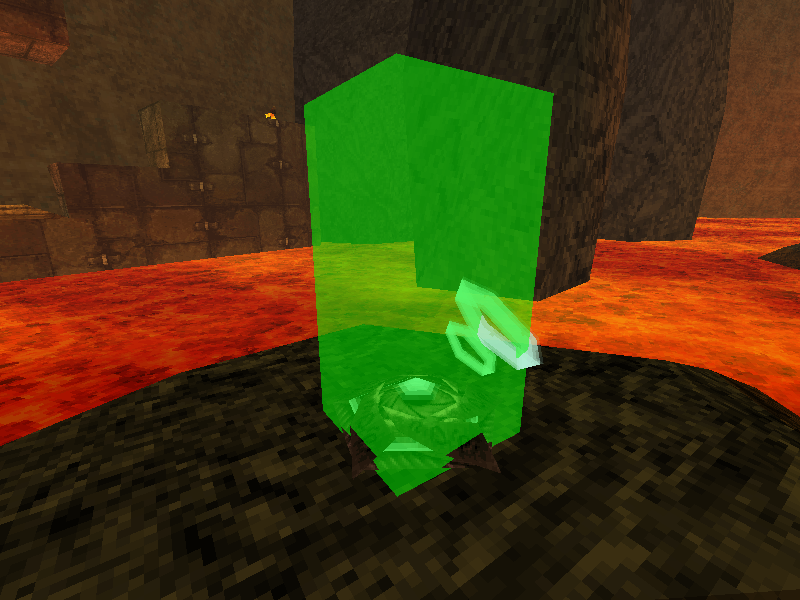
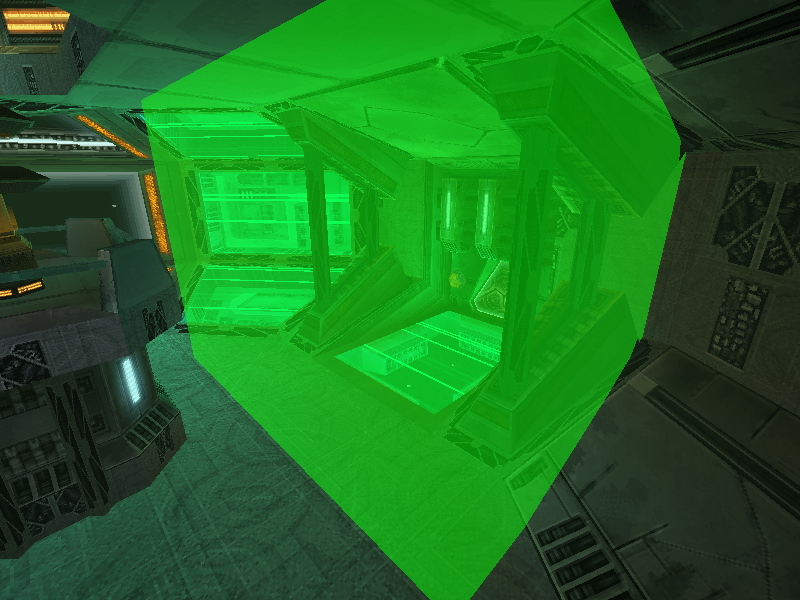
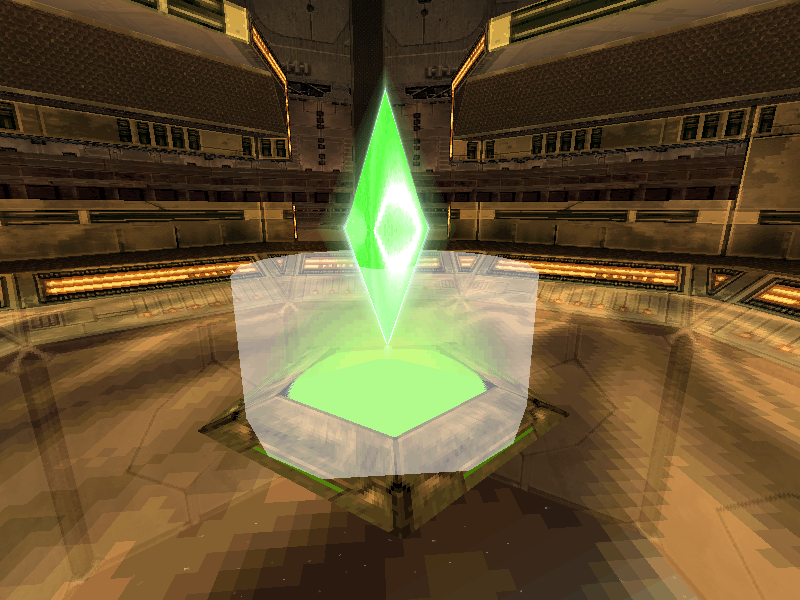
Jump pads have an associated volume which is used to test for collision with the player and activate the jump pad acceleration. MphRead displays this volume in green.
- Index 9
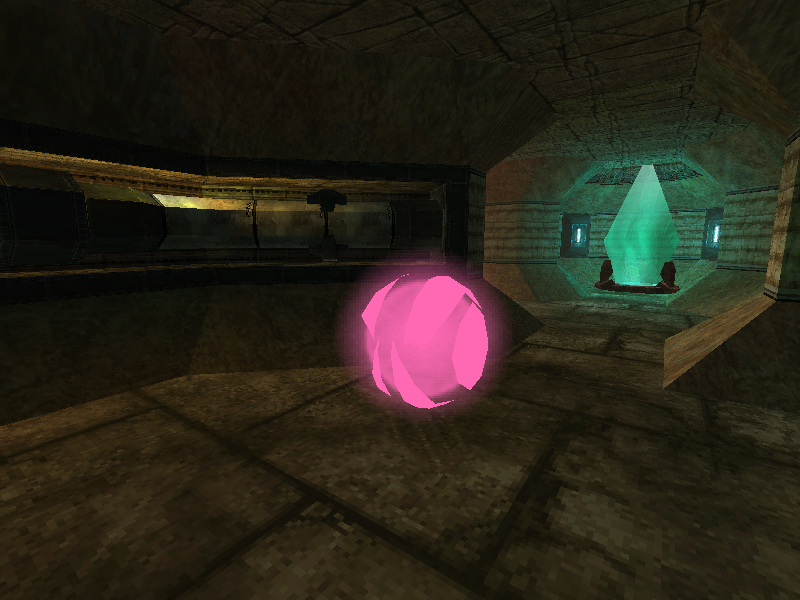
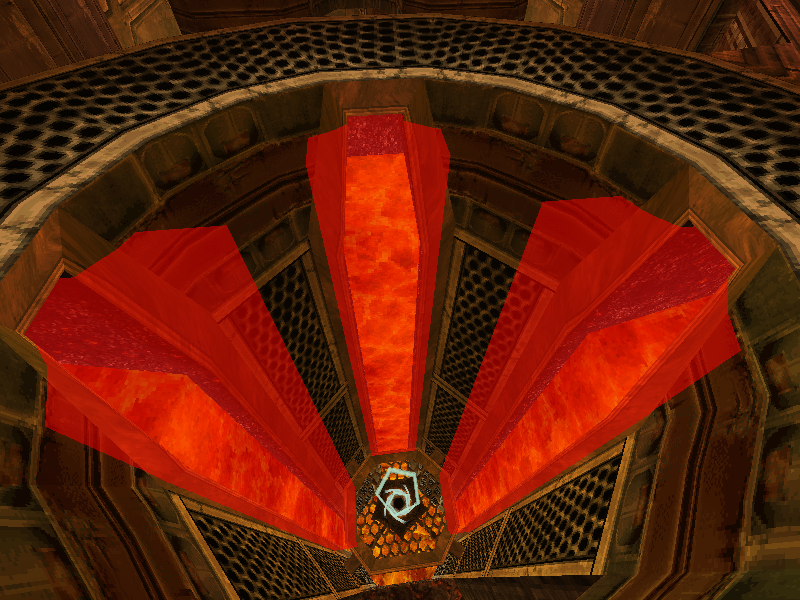
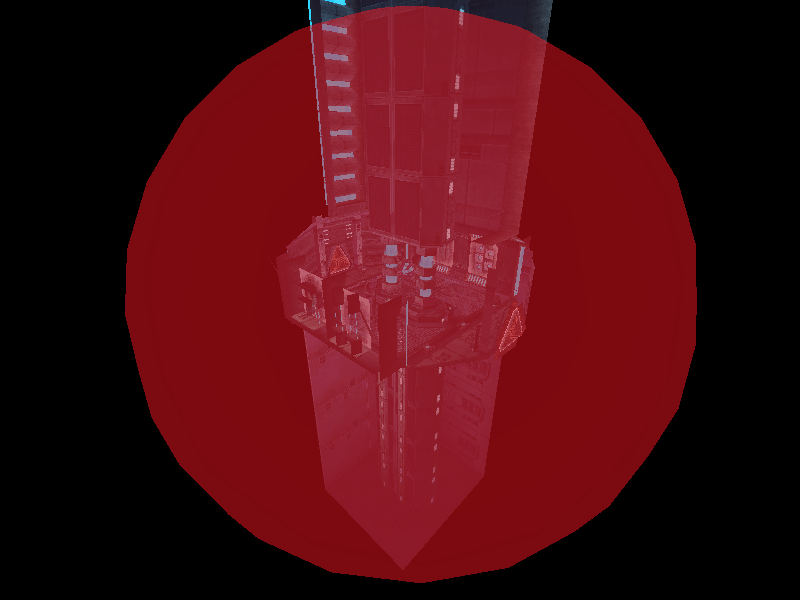
Teleporters will warp the player when they enter a certain spherical area. After being teleported, the player must move away a slightly greater distance before they can activate the teleporter again. The former area is visualized in red. The latter is not currently visualized, nor is the teleporter's animation activation radius.
- Index 10
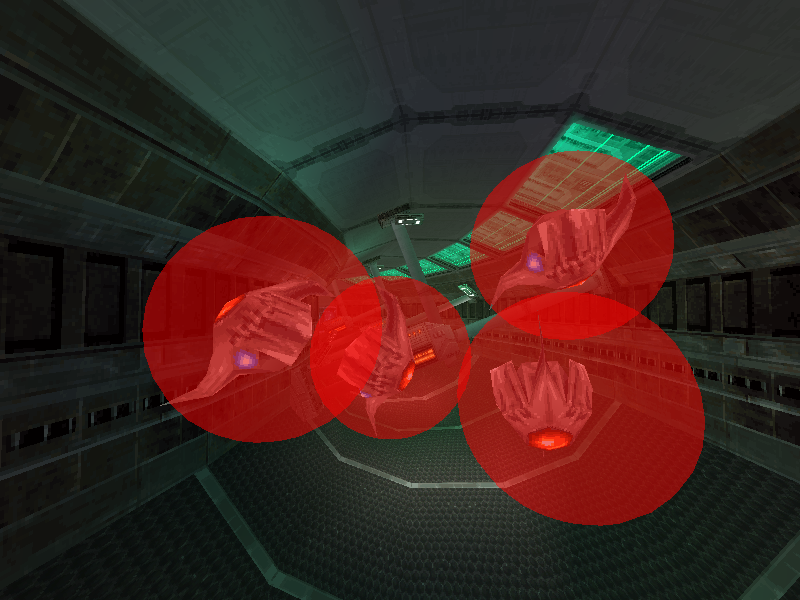
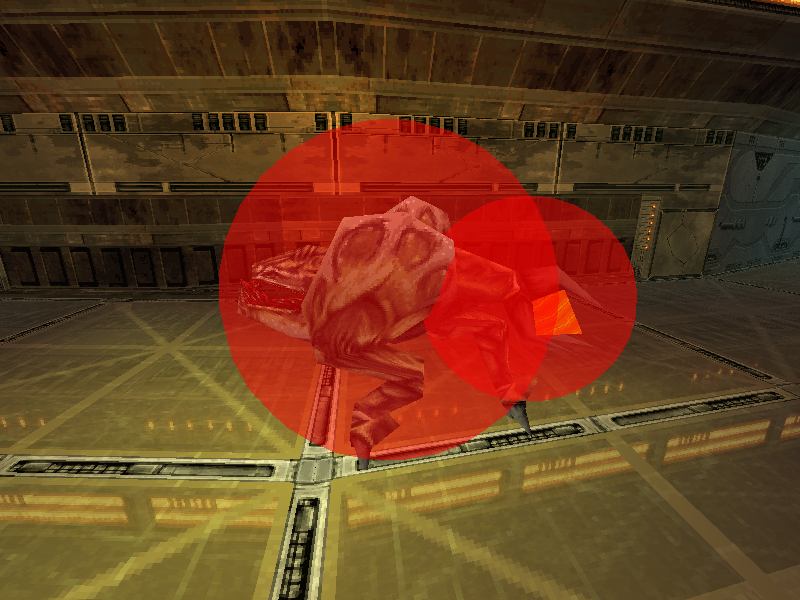
Most enemies have volumes that are checked for collision with beams in order to inflict damage, and often for collision with the player as well. These volumes are displayed in red. A handful of enemies spawn a special child enemy type to act as either a weak spot or a secondary collision volume.
- Index 11
Some objects use a volume to determine whether to spawn their effect based on where the camera is. MphRead displays these volumes in red.
- Index 12

The flag base entity uses a volume and checks for player collision for its dropoff point. These volumes are displayed in white.
- Index 13

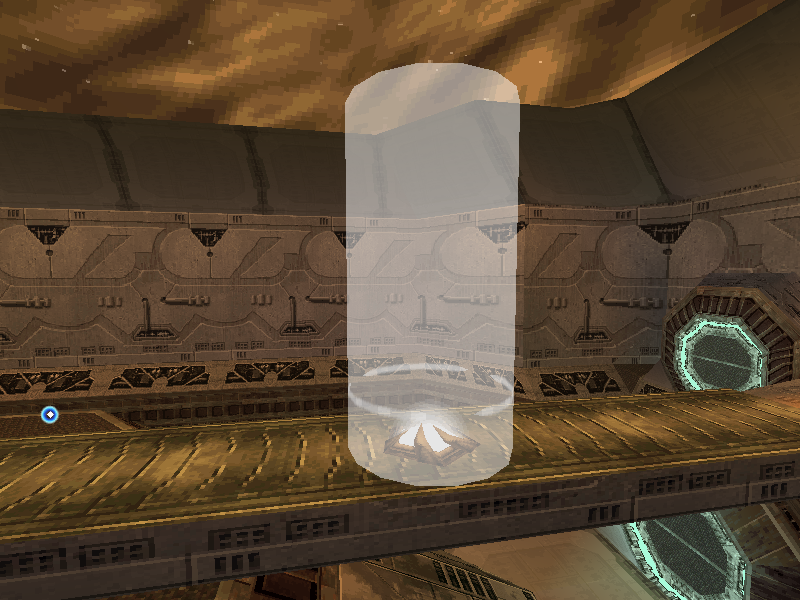
The nodes in the Defender and Nodes game modes use a volume to determine whether a player is occupying them. These are displayed in white.
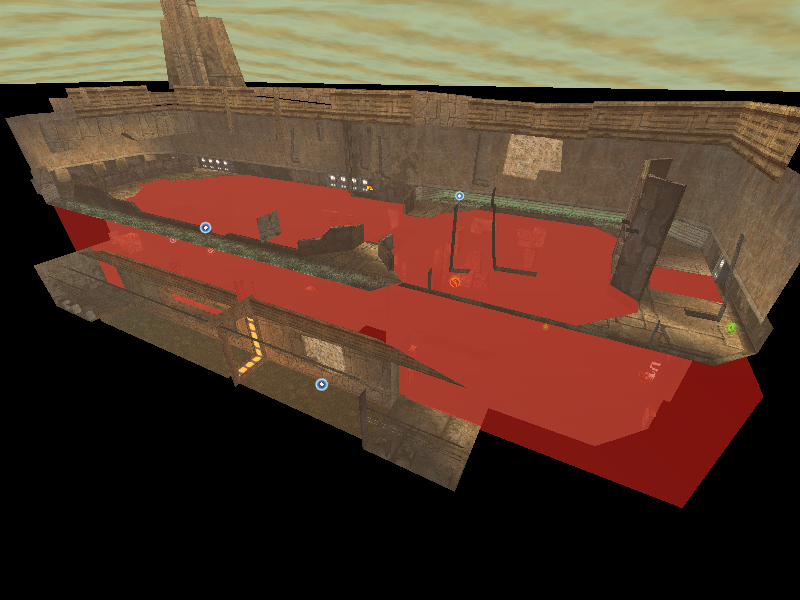
- Index 14

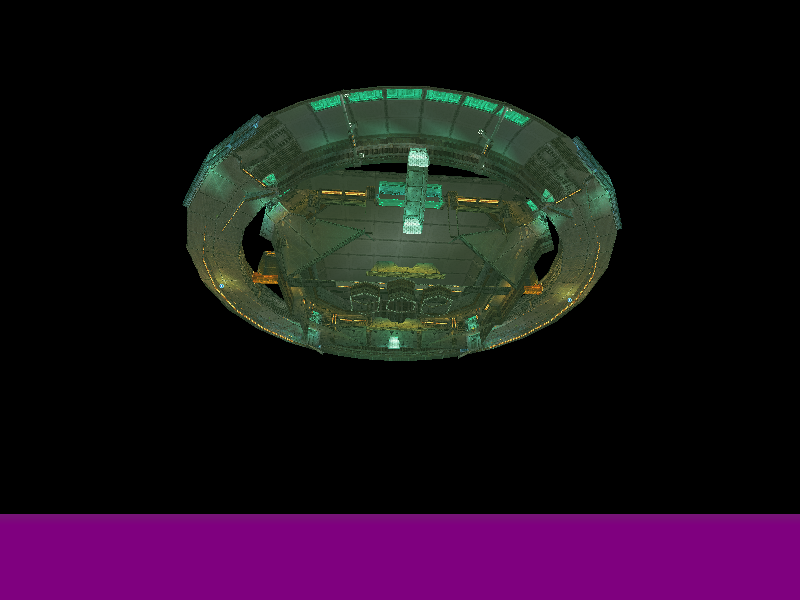
Each room has a height value defined in metadata, below which players will be automatically killed. This is displayed in purple. Note that separately, area volumes can send a message to kill a player on contact.
- Index 15 (Player)
- Index 16 (Camera)
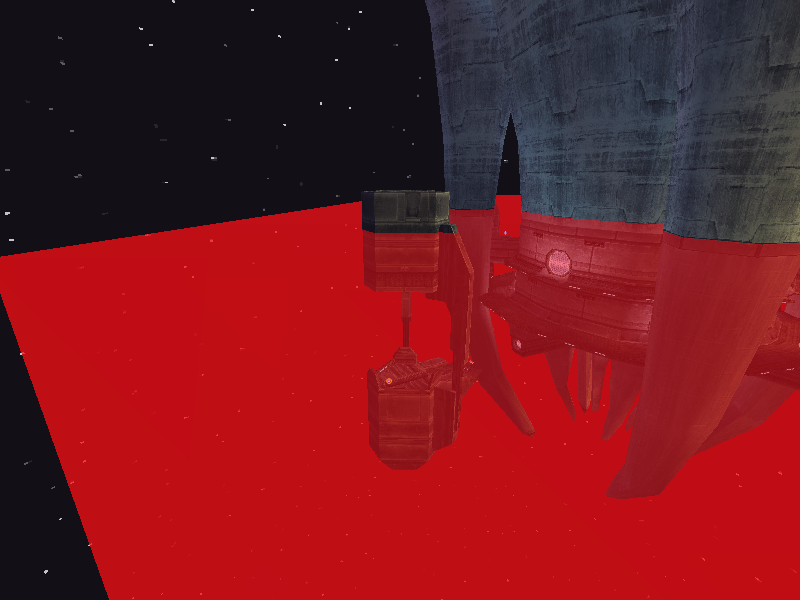
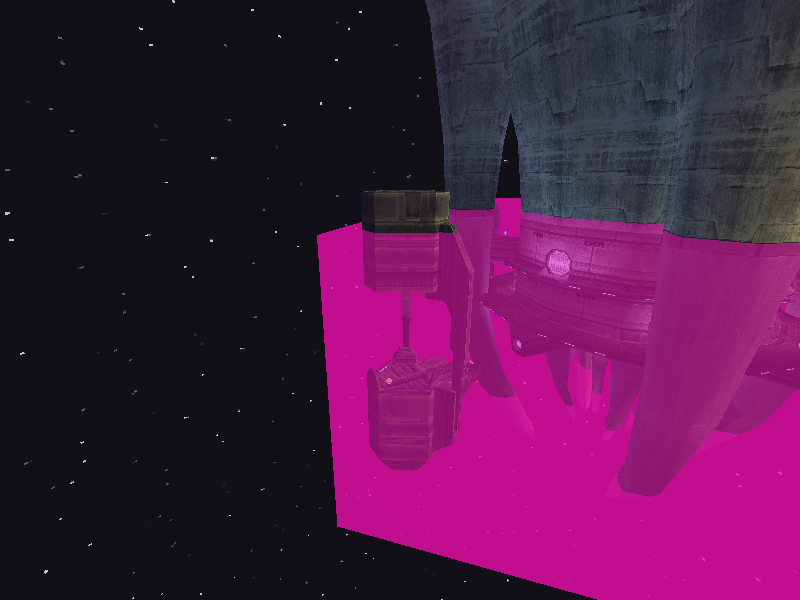
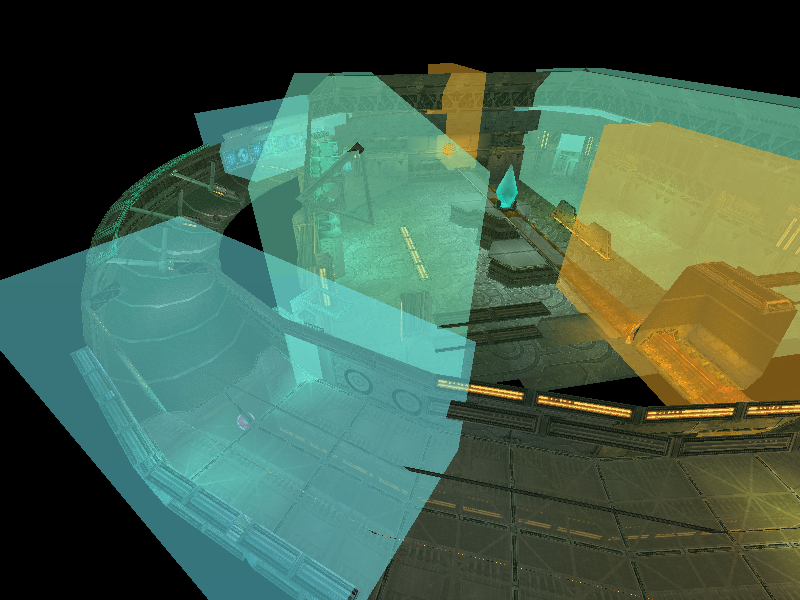
Multiplayer rooms have defined coordinate minimums and maximums beyond which the player or free camera can't move. This creates a bounding box for habitable space in the room. If a player falls below the minimum Y coordinate, they are automatically killed. If the player or camera attempts to move past any of the other limits, they are instantly clamped back to them. The player bounding box is visualized in red, and the camera bounding box in pink.
- Index 17
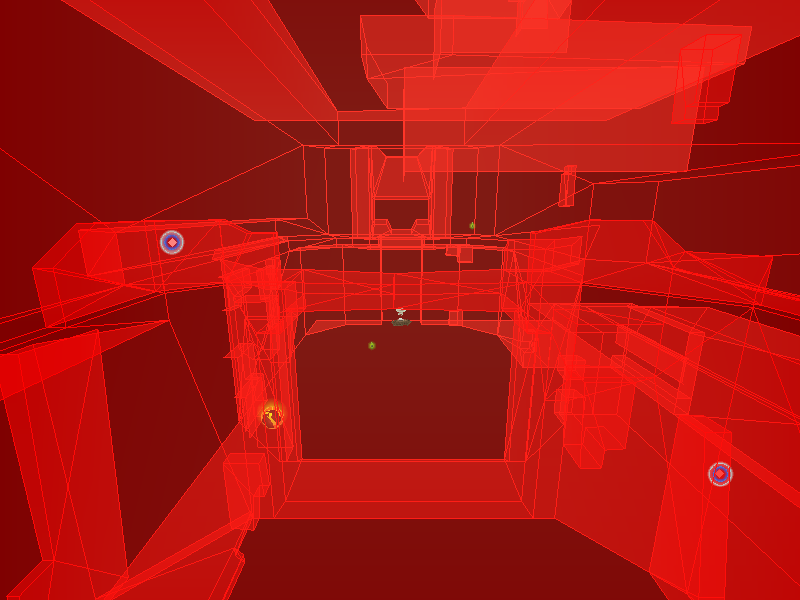
Room model nodes are culled (left out of the drawing process) based on the position of the camera and whether it is looking at a certain axis-aligned bounding box around each node. These volumes are displayed in red for the node which is currently selected. See the section below for information about node selection.
- Index 18
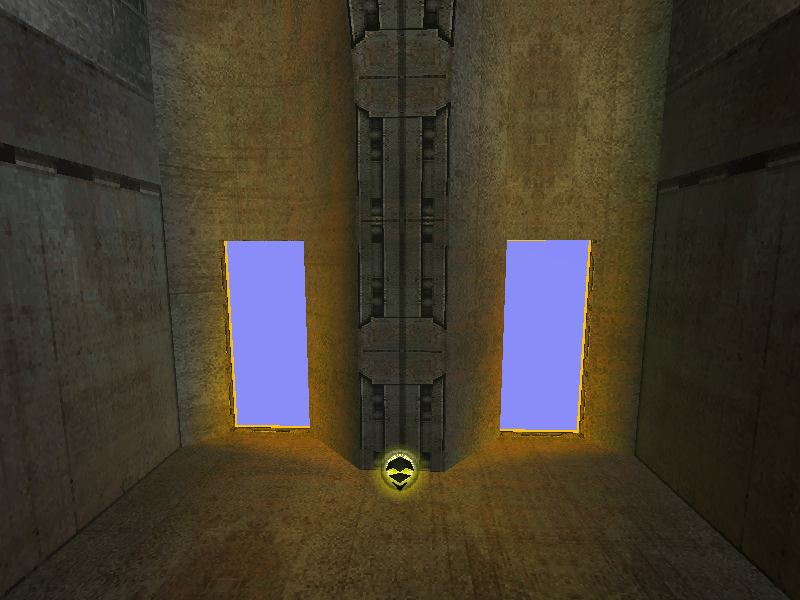
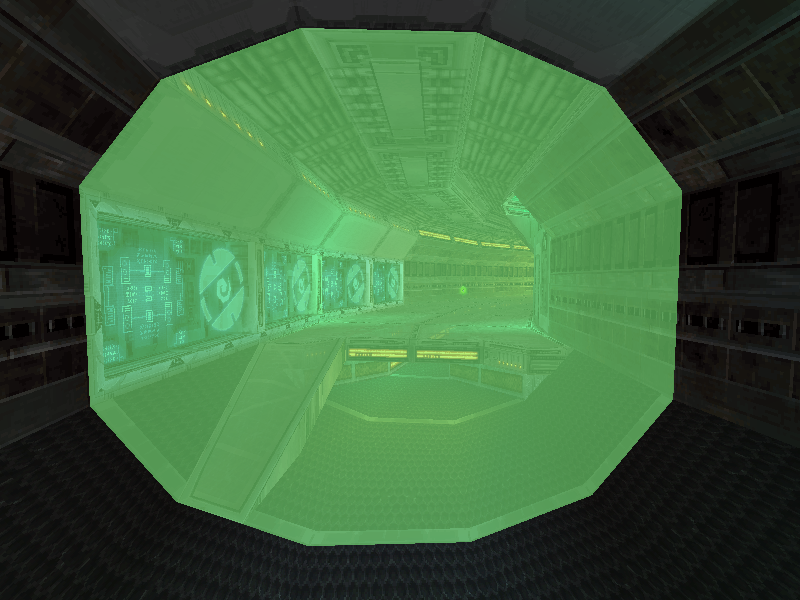
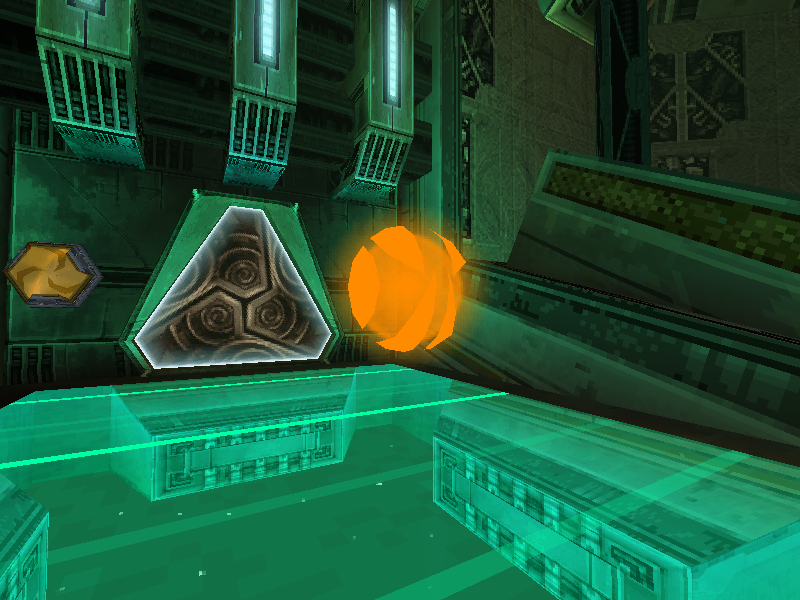
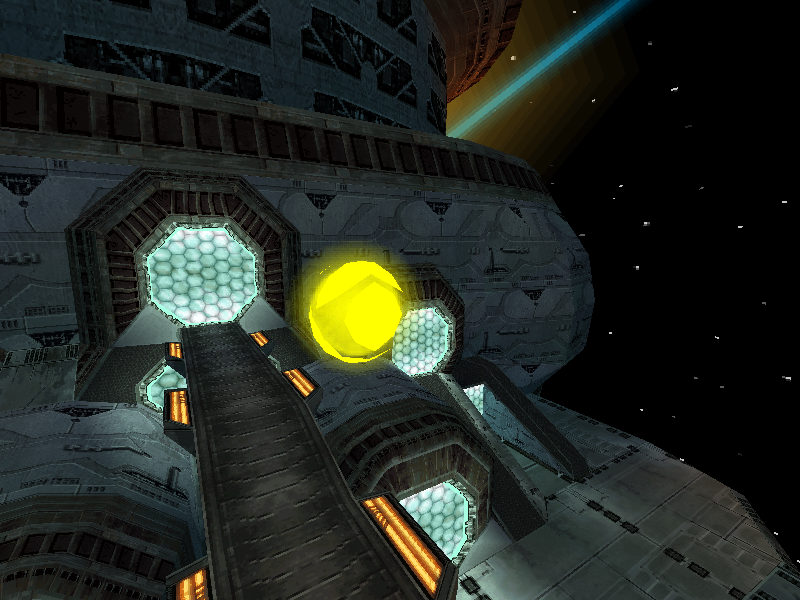
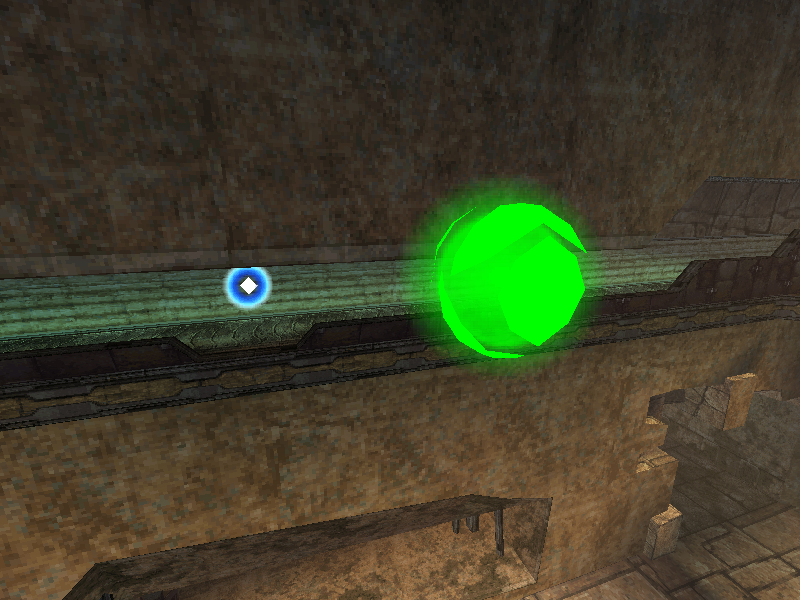
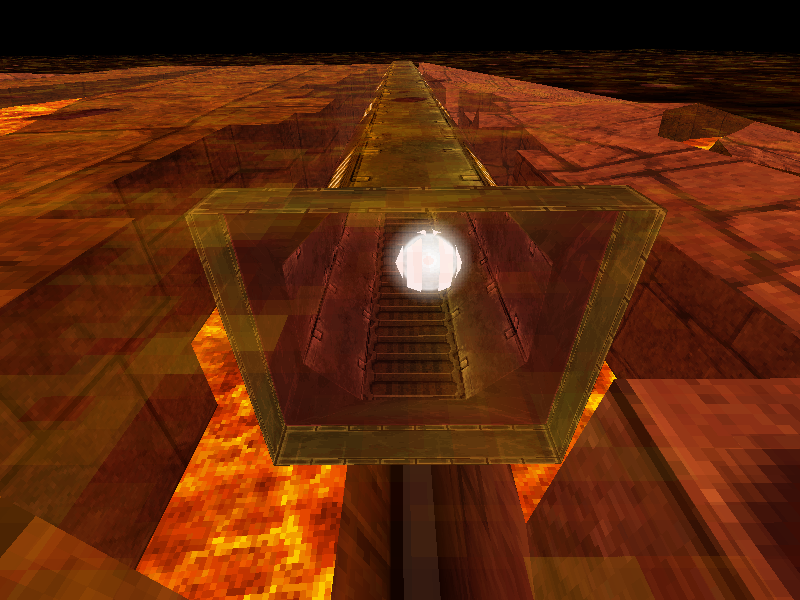
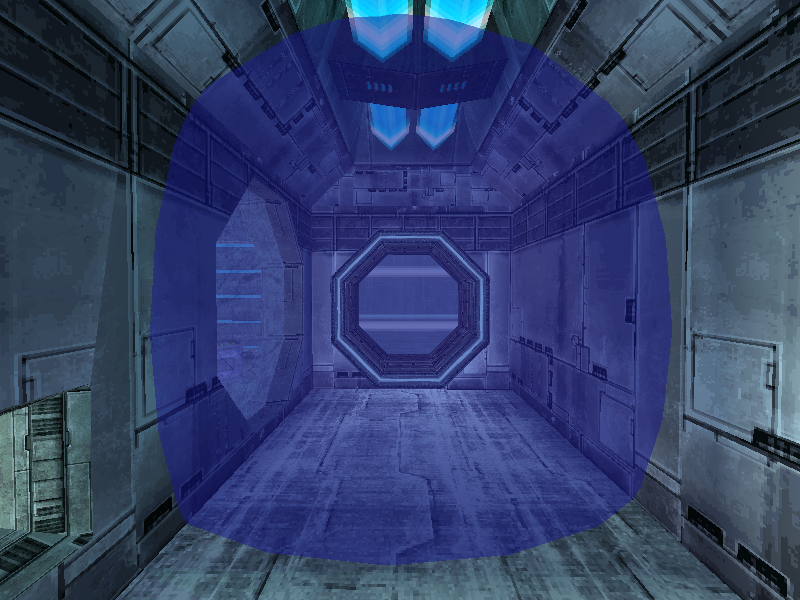
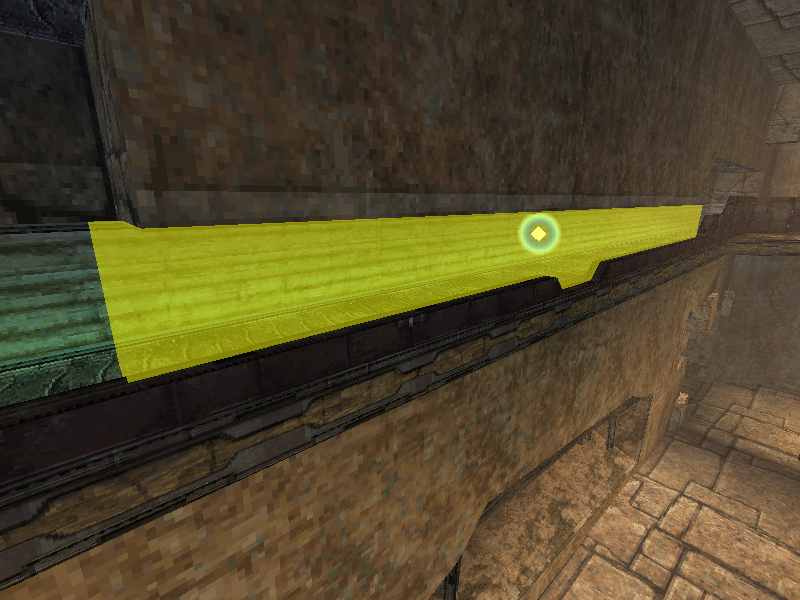
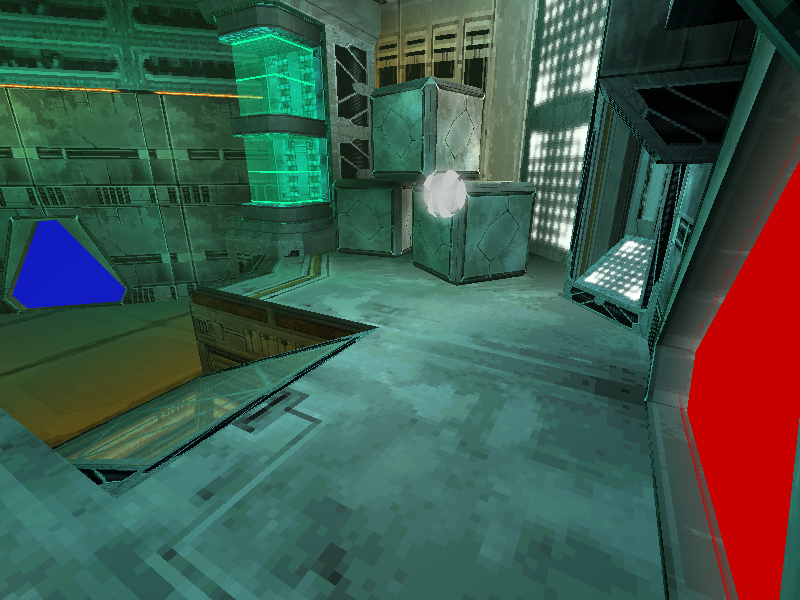
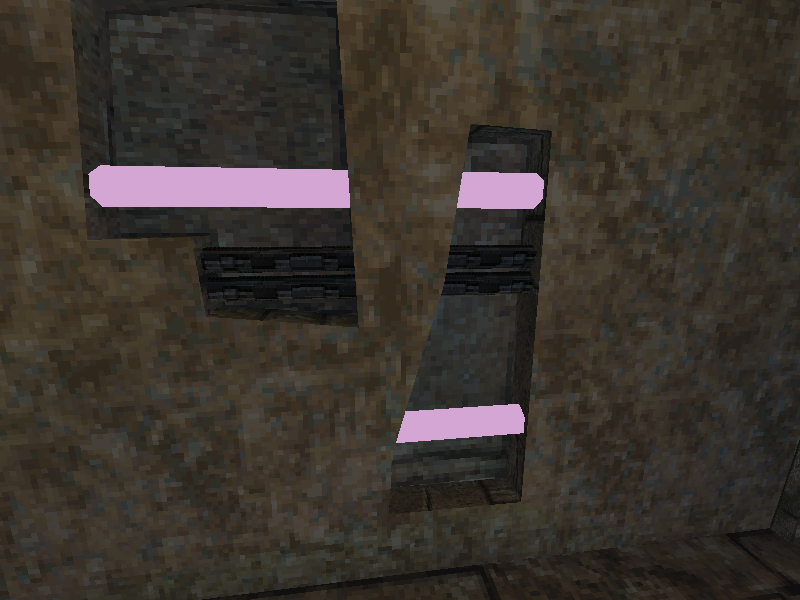
Portals are planes which are used to control the partial rendering of rooms when the camera crosses them. Some are normally rendered as the hexagonal force fields that become more transparent the closer to player is to them, and some are invisible. When display is enabled, the force field portals will be rendered in purple, and the invisible portals will be rendered in green.
Use Alt+K to enter collision display mode. A menu will be printed in the console showing the various display options. Use K to cycle through the options and J to update the value of the selected option.
It may be helpful to use entity selection to toggle visibility of a room/entity in order to see collision clearly. Additionally, Alt+Q can be used to cycle displaying collision faces and edges, edges only, and faces only.
The color option allows choosing how to color the collision display. By default, all collision is red. The option can be cycled to color by entity type, by terrain type, or by entity interaction.
The opacity setting allows toggling between semi-transparent and opaque display of collision faces.
Cycle between displaying collision for the room, platforms, objects, or all three.
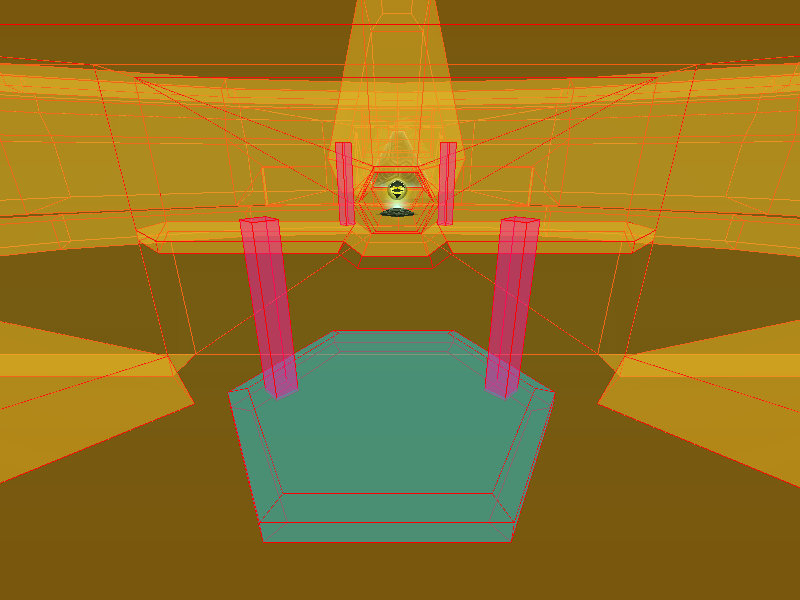
When coloring by entity type, room collision is yellow, platform collision is teal, and object collision is magenta.
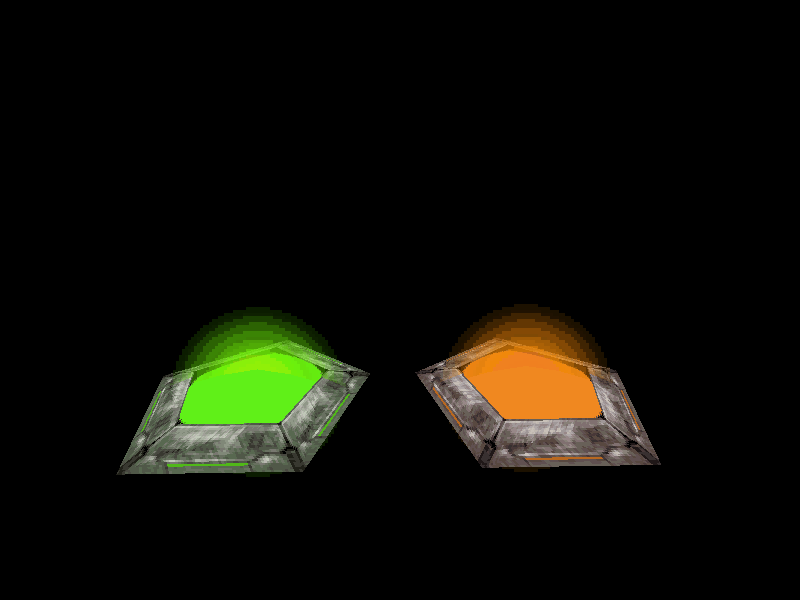
Cycle between displaying all terrain or only terrain of each type: metal, orange holo, green holo, blue holo, ice, snow, sand, rock, lava, acid, Gorea, unknown.
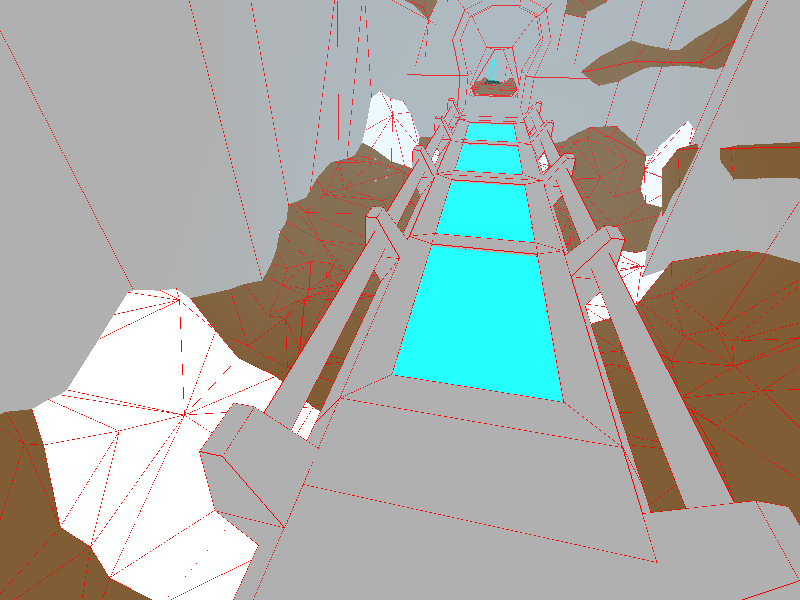
When coloring by terrain type, metal is gray, orange holo is orange, green holo is green, blue holo is blue, ice is light blue, snow is white, sand is yellow, rock is brown, lava is salmon, acid is pink, and Gorea is purple. The unknown 12th terrain type is never used in game.
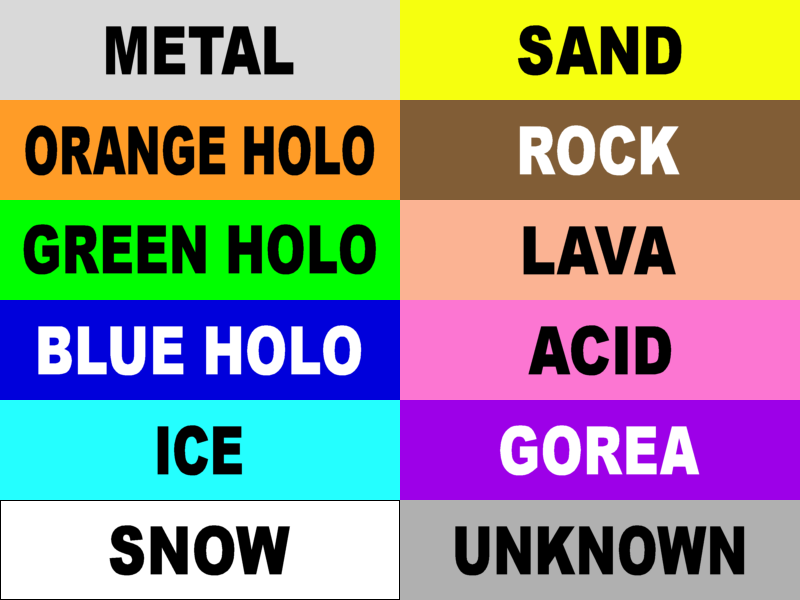
Cycle between displaying collision which interacts with anything, players, beams, or both.
When coloring by entity interaction, collision that interacts only with players is yellow, collision that interacts only with beams is green, and collision that interacts with both is purple.
Enter selection mode with M and use + or - to cycle through items. Information about the current selection will be printed to the console. The camera position can also be displayed while in selection mode by enabling it with Alt+C. Otherwise, this feature is off by default to prevent excessive flickering in the console window as the camera moves.
See Viewer Controls for a full list of the available commands.
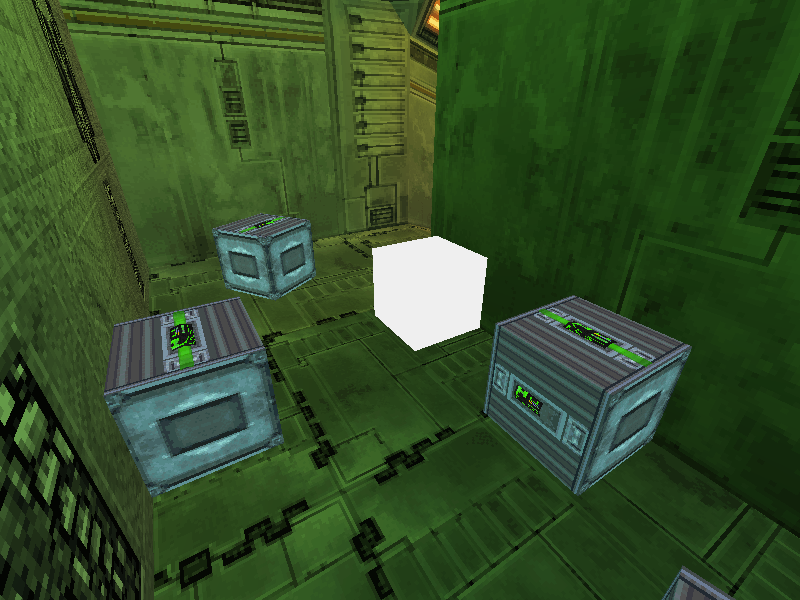
The first level of selection operates on entities. The first selection will always be the room (if any), followed by each entity in the order they were loaded. Selected entities will be highlighted in white. When an entity is selected, it can be manipulated by holding Alt and pressing the same keys used to move the camera.
Pressing 0 will toggle the entity's visibility. Pressing Alt+0 will toggle the entity's active state; some entities may have gameplay logic controlled by this state. For example, activating a camera sequence entity will cause its associated cutscene to begin.
Press X to move the camera position to the selected entity's position. If an entity has a parent entity, that entity will be highlighted in red; if it has a child entity, that entity will be highlighted in blue. Press Ctrl+X to look at the parent entity if any, and press Ctrl+Shift+X to look at the child entity if any.
Note that in order to select invisible entities, invisible entity display must be toggled on.

When an entity is selected, press M to move one step down the selection hierarchy to the first model of the entity (a single entity can have one or more models). Selected models will be highlighted in pale yellow.

When a model is selected, press M to advance the selection hierarchy to the first node of the model. Selecting a node will highlight all the meshes belonging to that node in pale green.
When a mesh is selected, press M to advance the selection hierarchy to the first mesh belonging to the node. Selected meshes will be highlighted in pale pink.
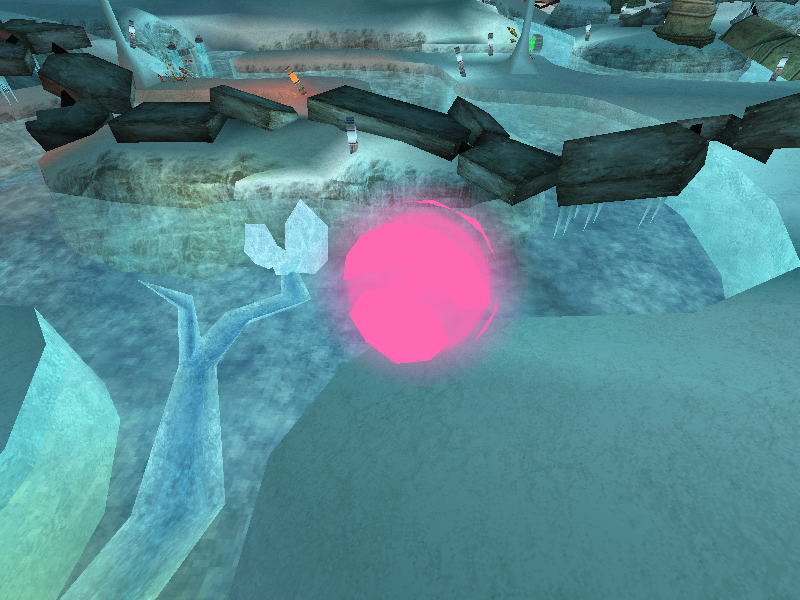
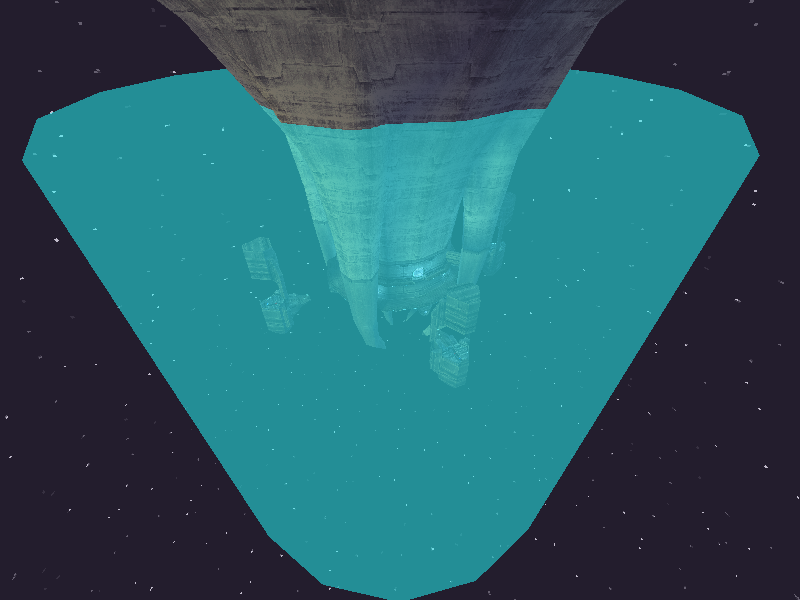
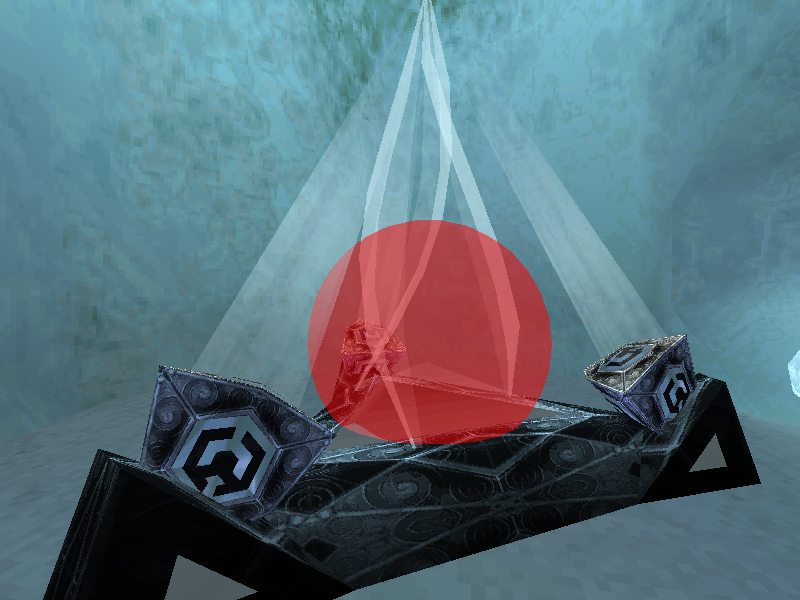
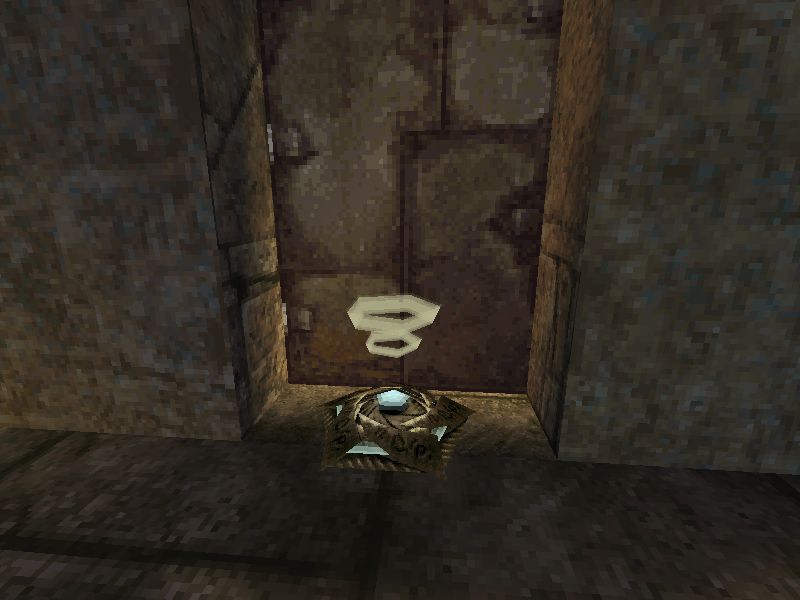
Room nodes can have transform values in the model file, but these values are not applied in game. Consequently, a few room nodes appear out of place, presumably due to their transform not being baked into the display list by mistake. N can be used to toggle room node transforms to see where the nodes were likely intended to appear.
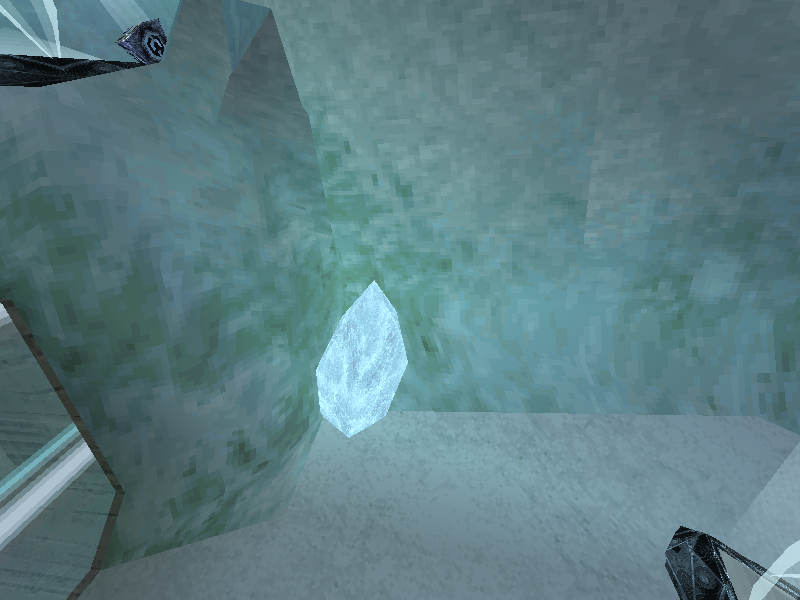
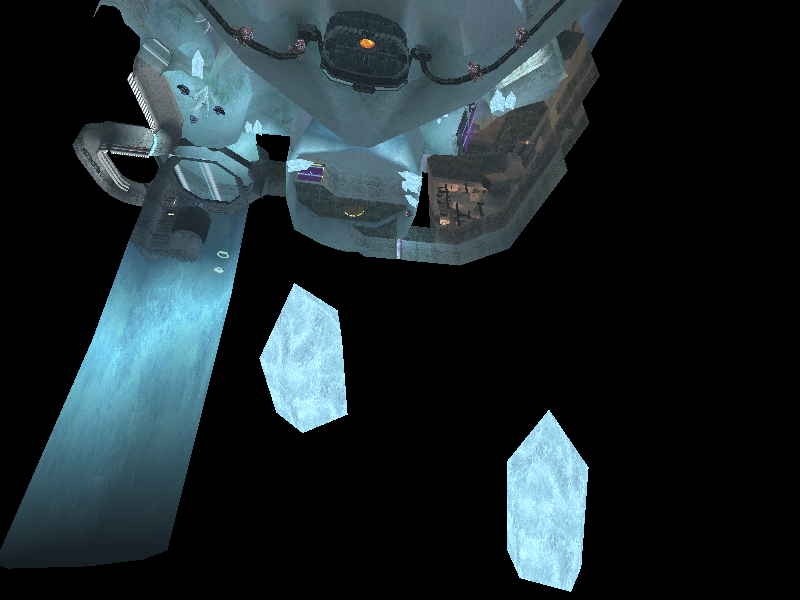
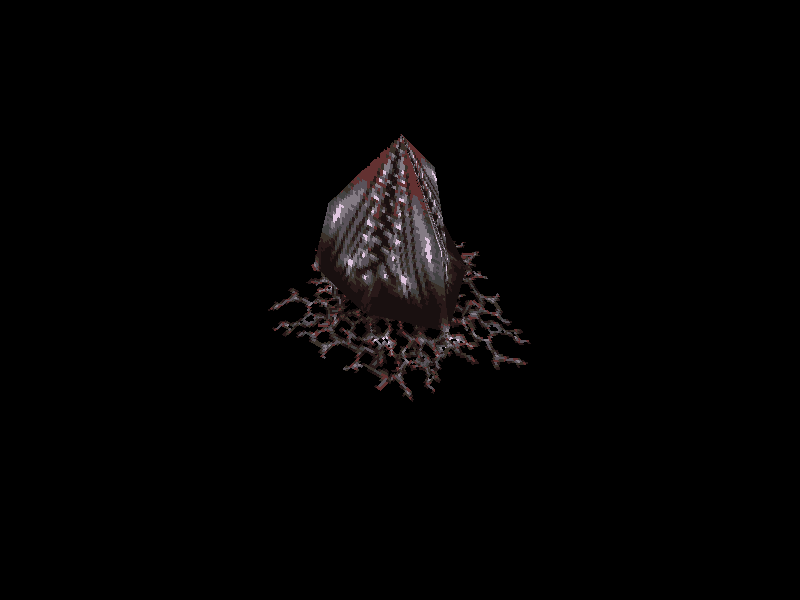
This location is missing the geometry for some ice crystals. They appear underneath the map instead.
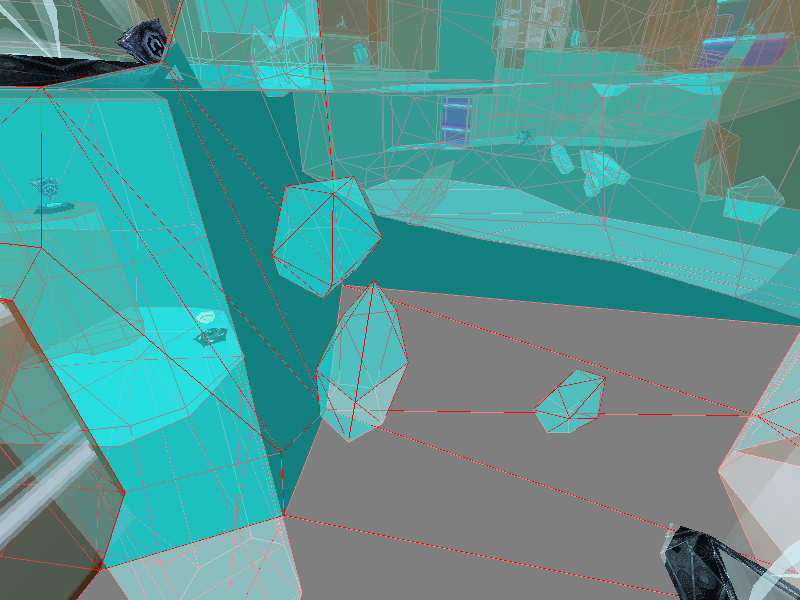
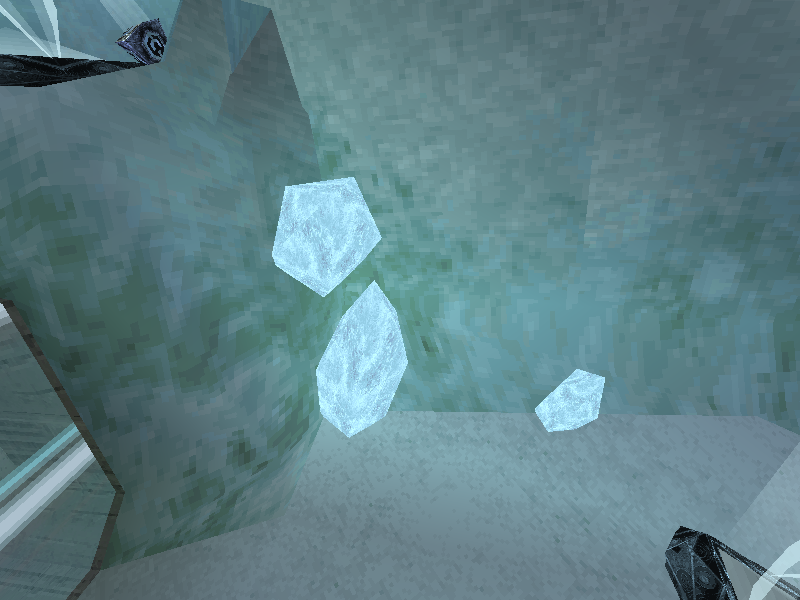
Collision for the ice is always present. With room node transforms toggled on, the geometry appears where the collision is.
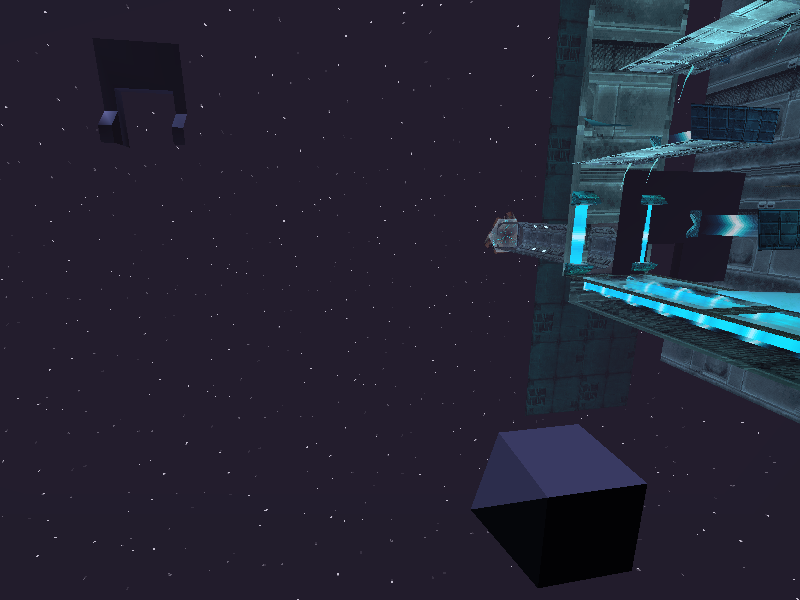
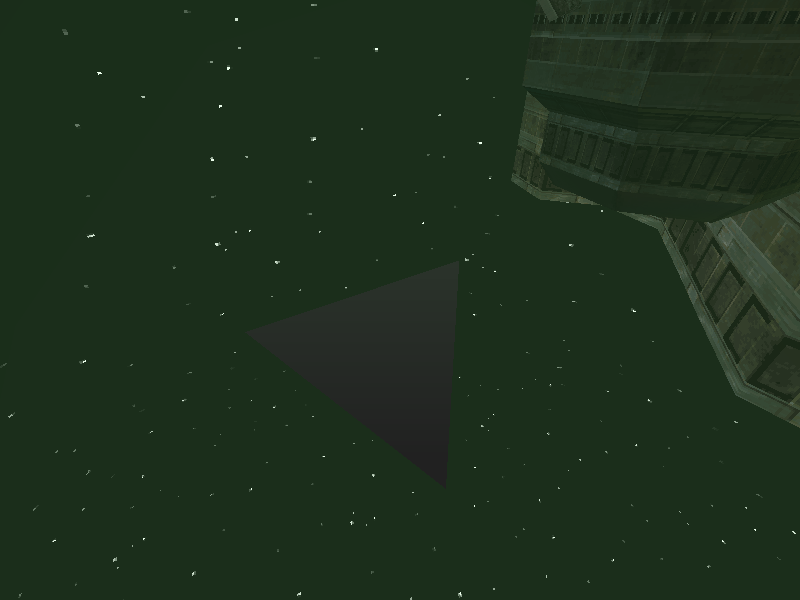
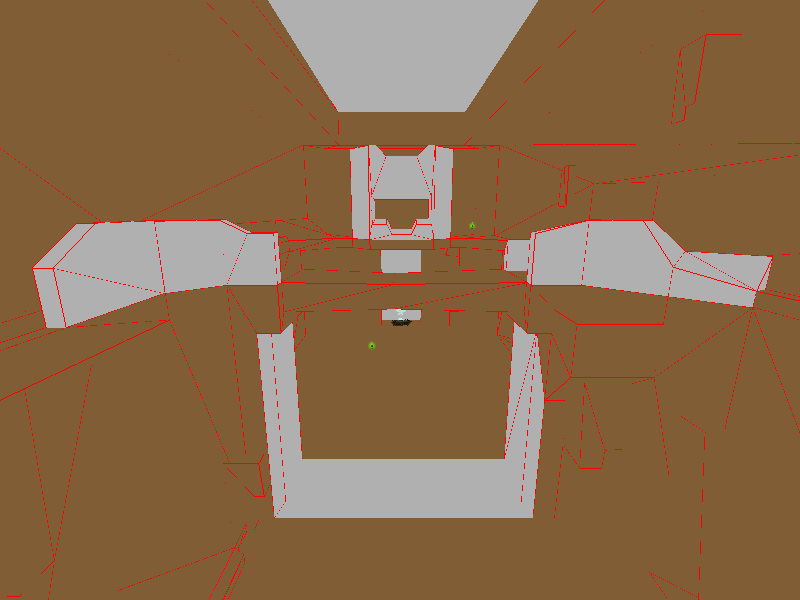
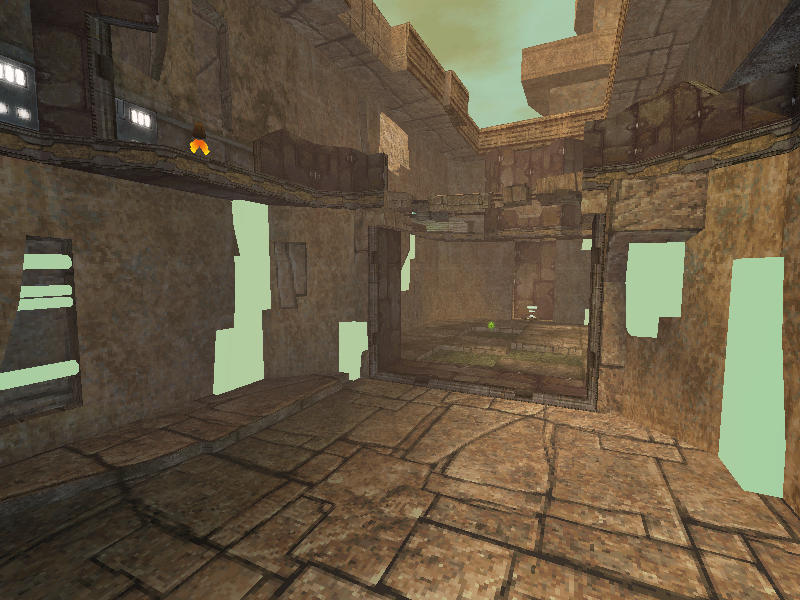
Normally, rooms are drawn by starting from a few specific root nodes -- partial room nodes and portal nodes -- and rendering down the tree from there. This leaves some nodes in the room models out of the drawing process altogether. These nodes, never visible in game, can be enabled with Alt+N.