Just a fun project I'm working on.
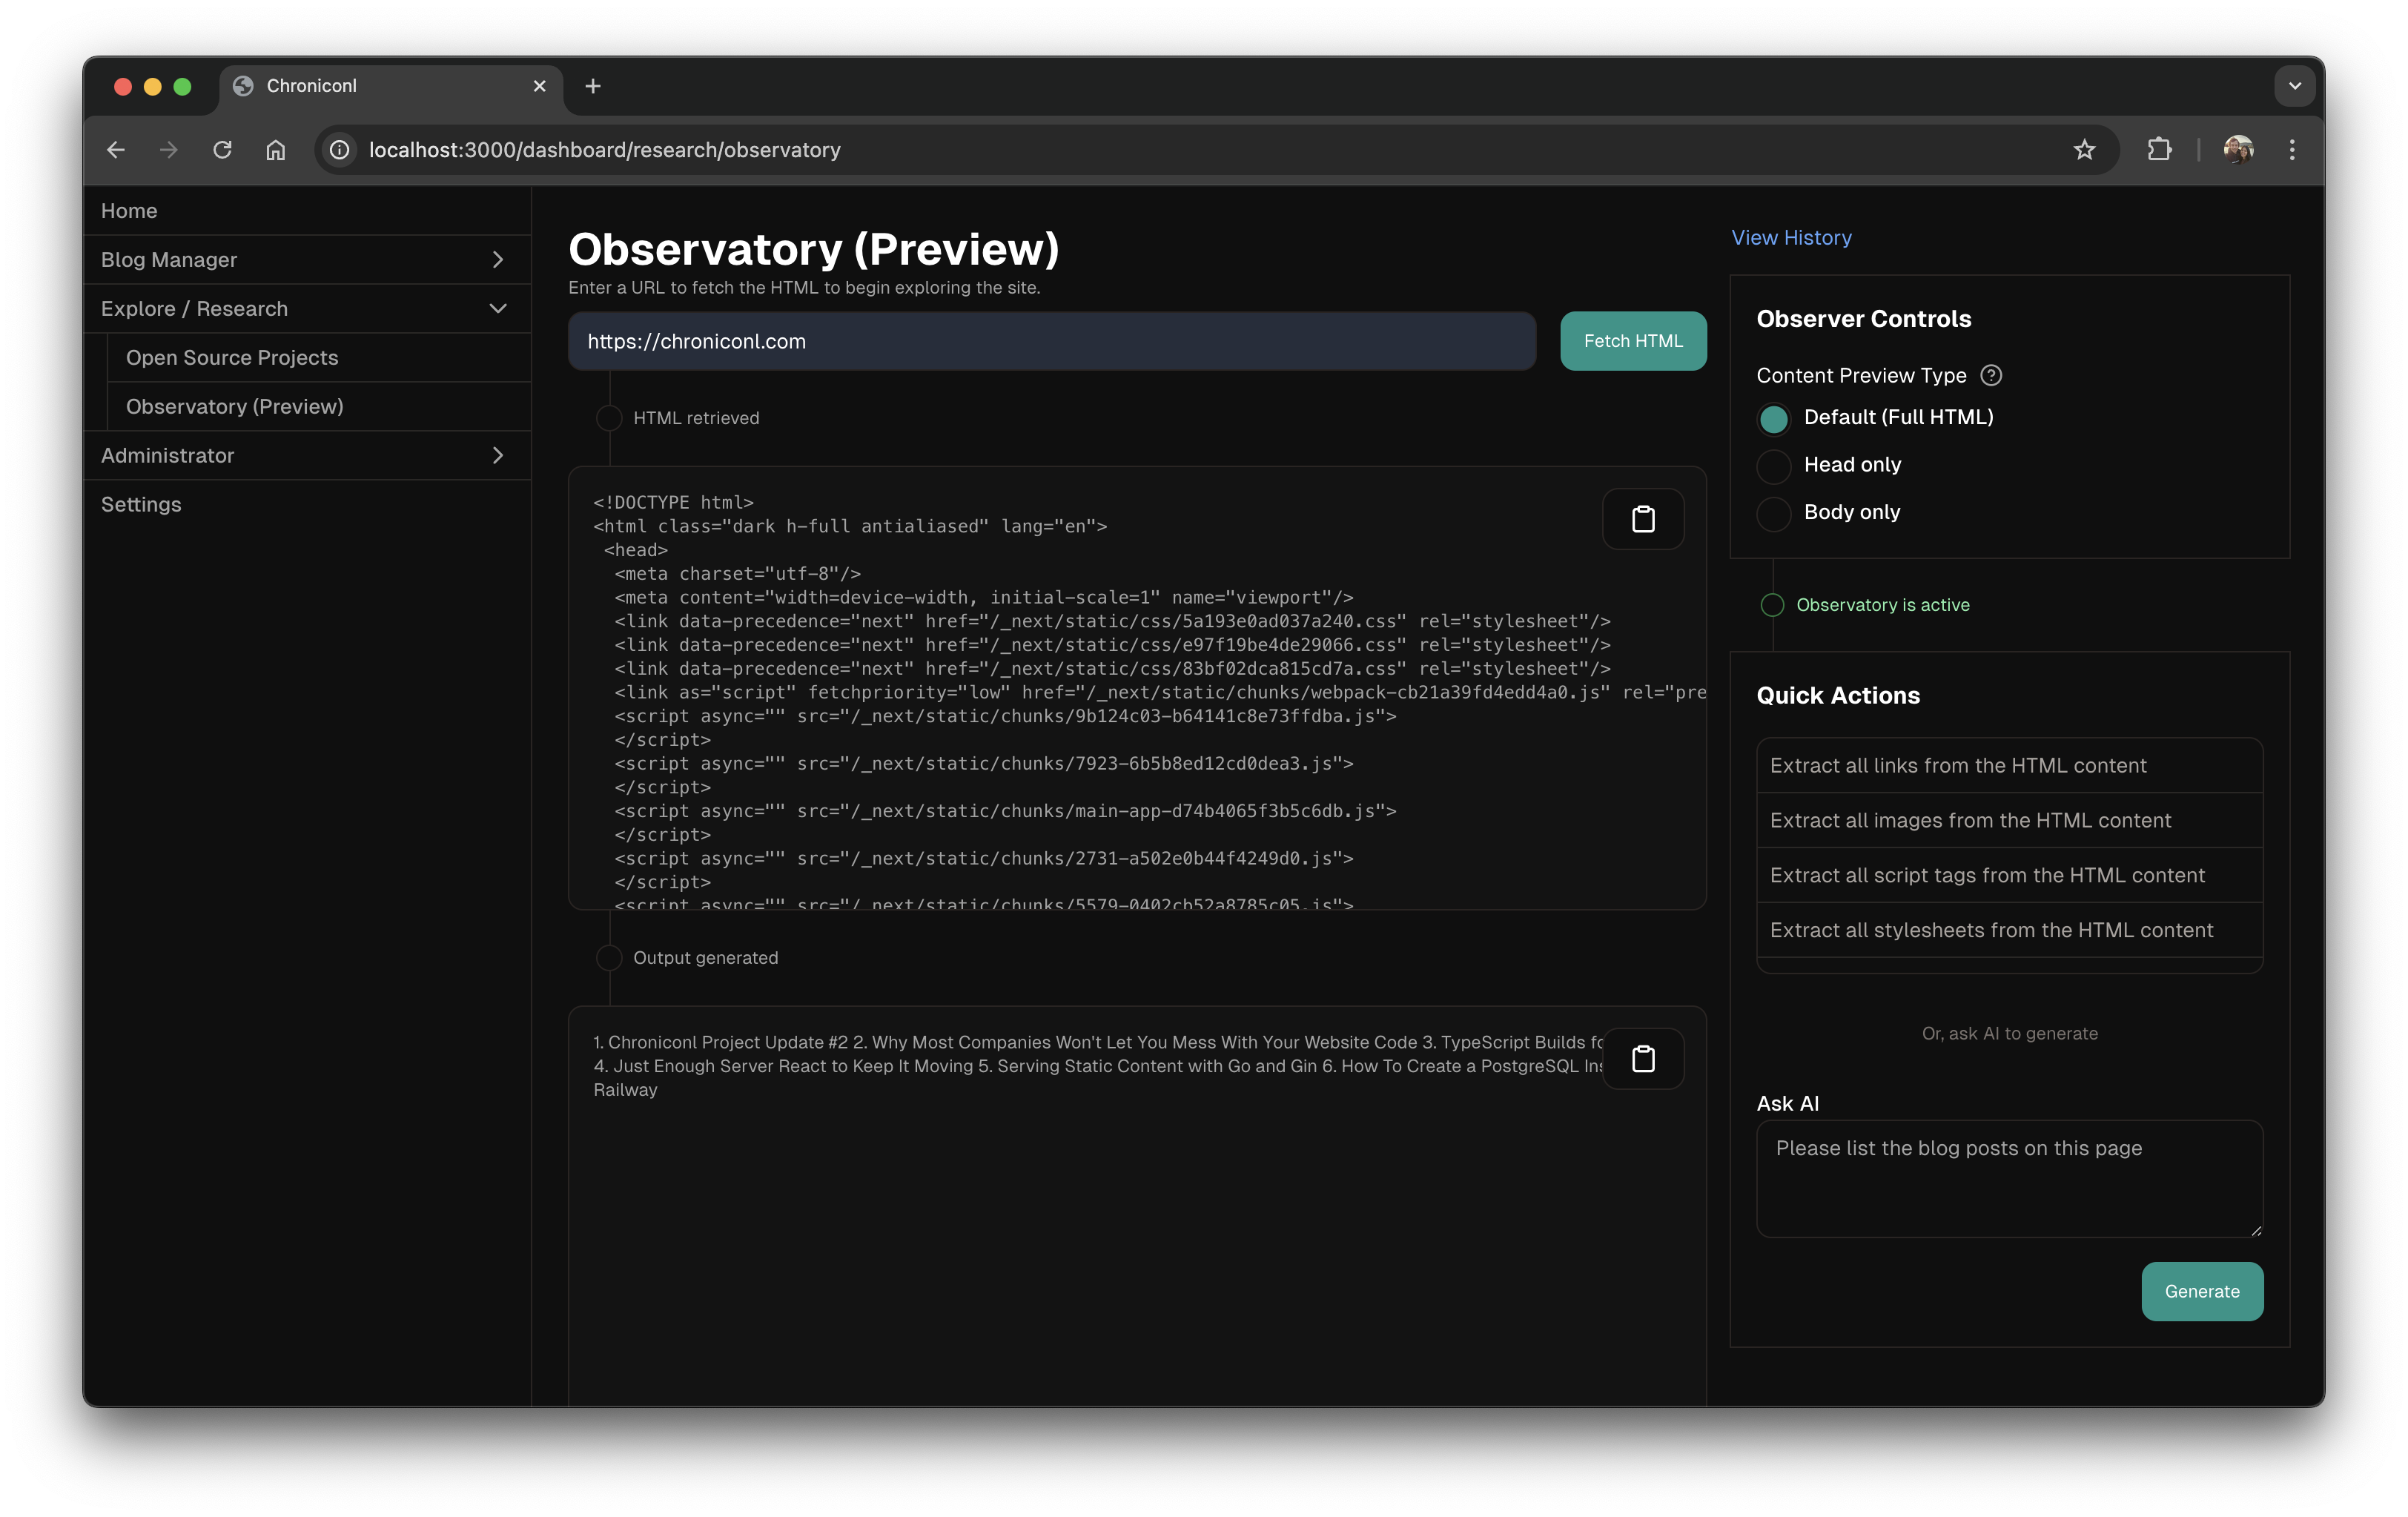
Observatory (Preview)
Work with raw HTML content to consult AI / preform common tasks.
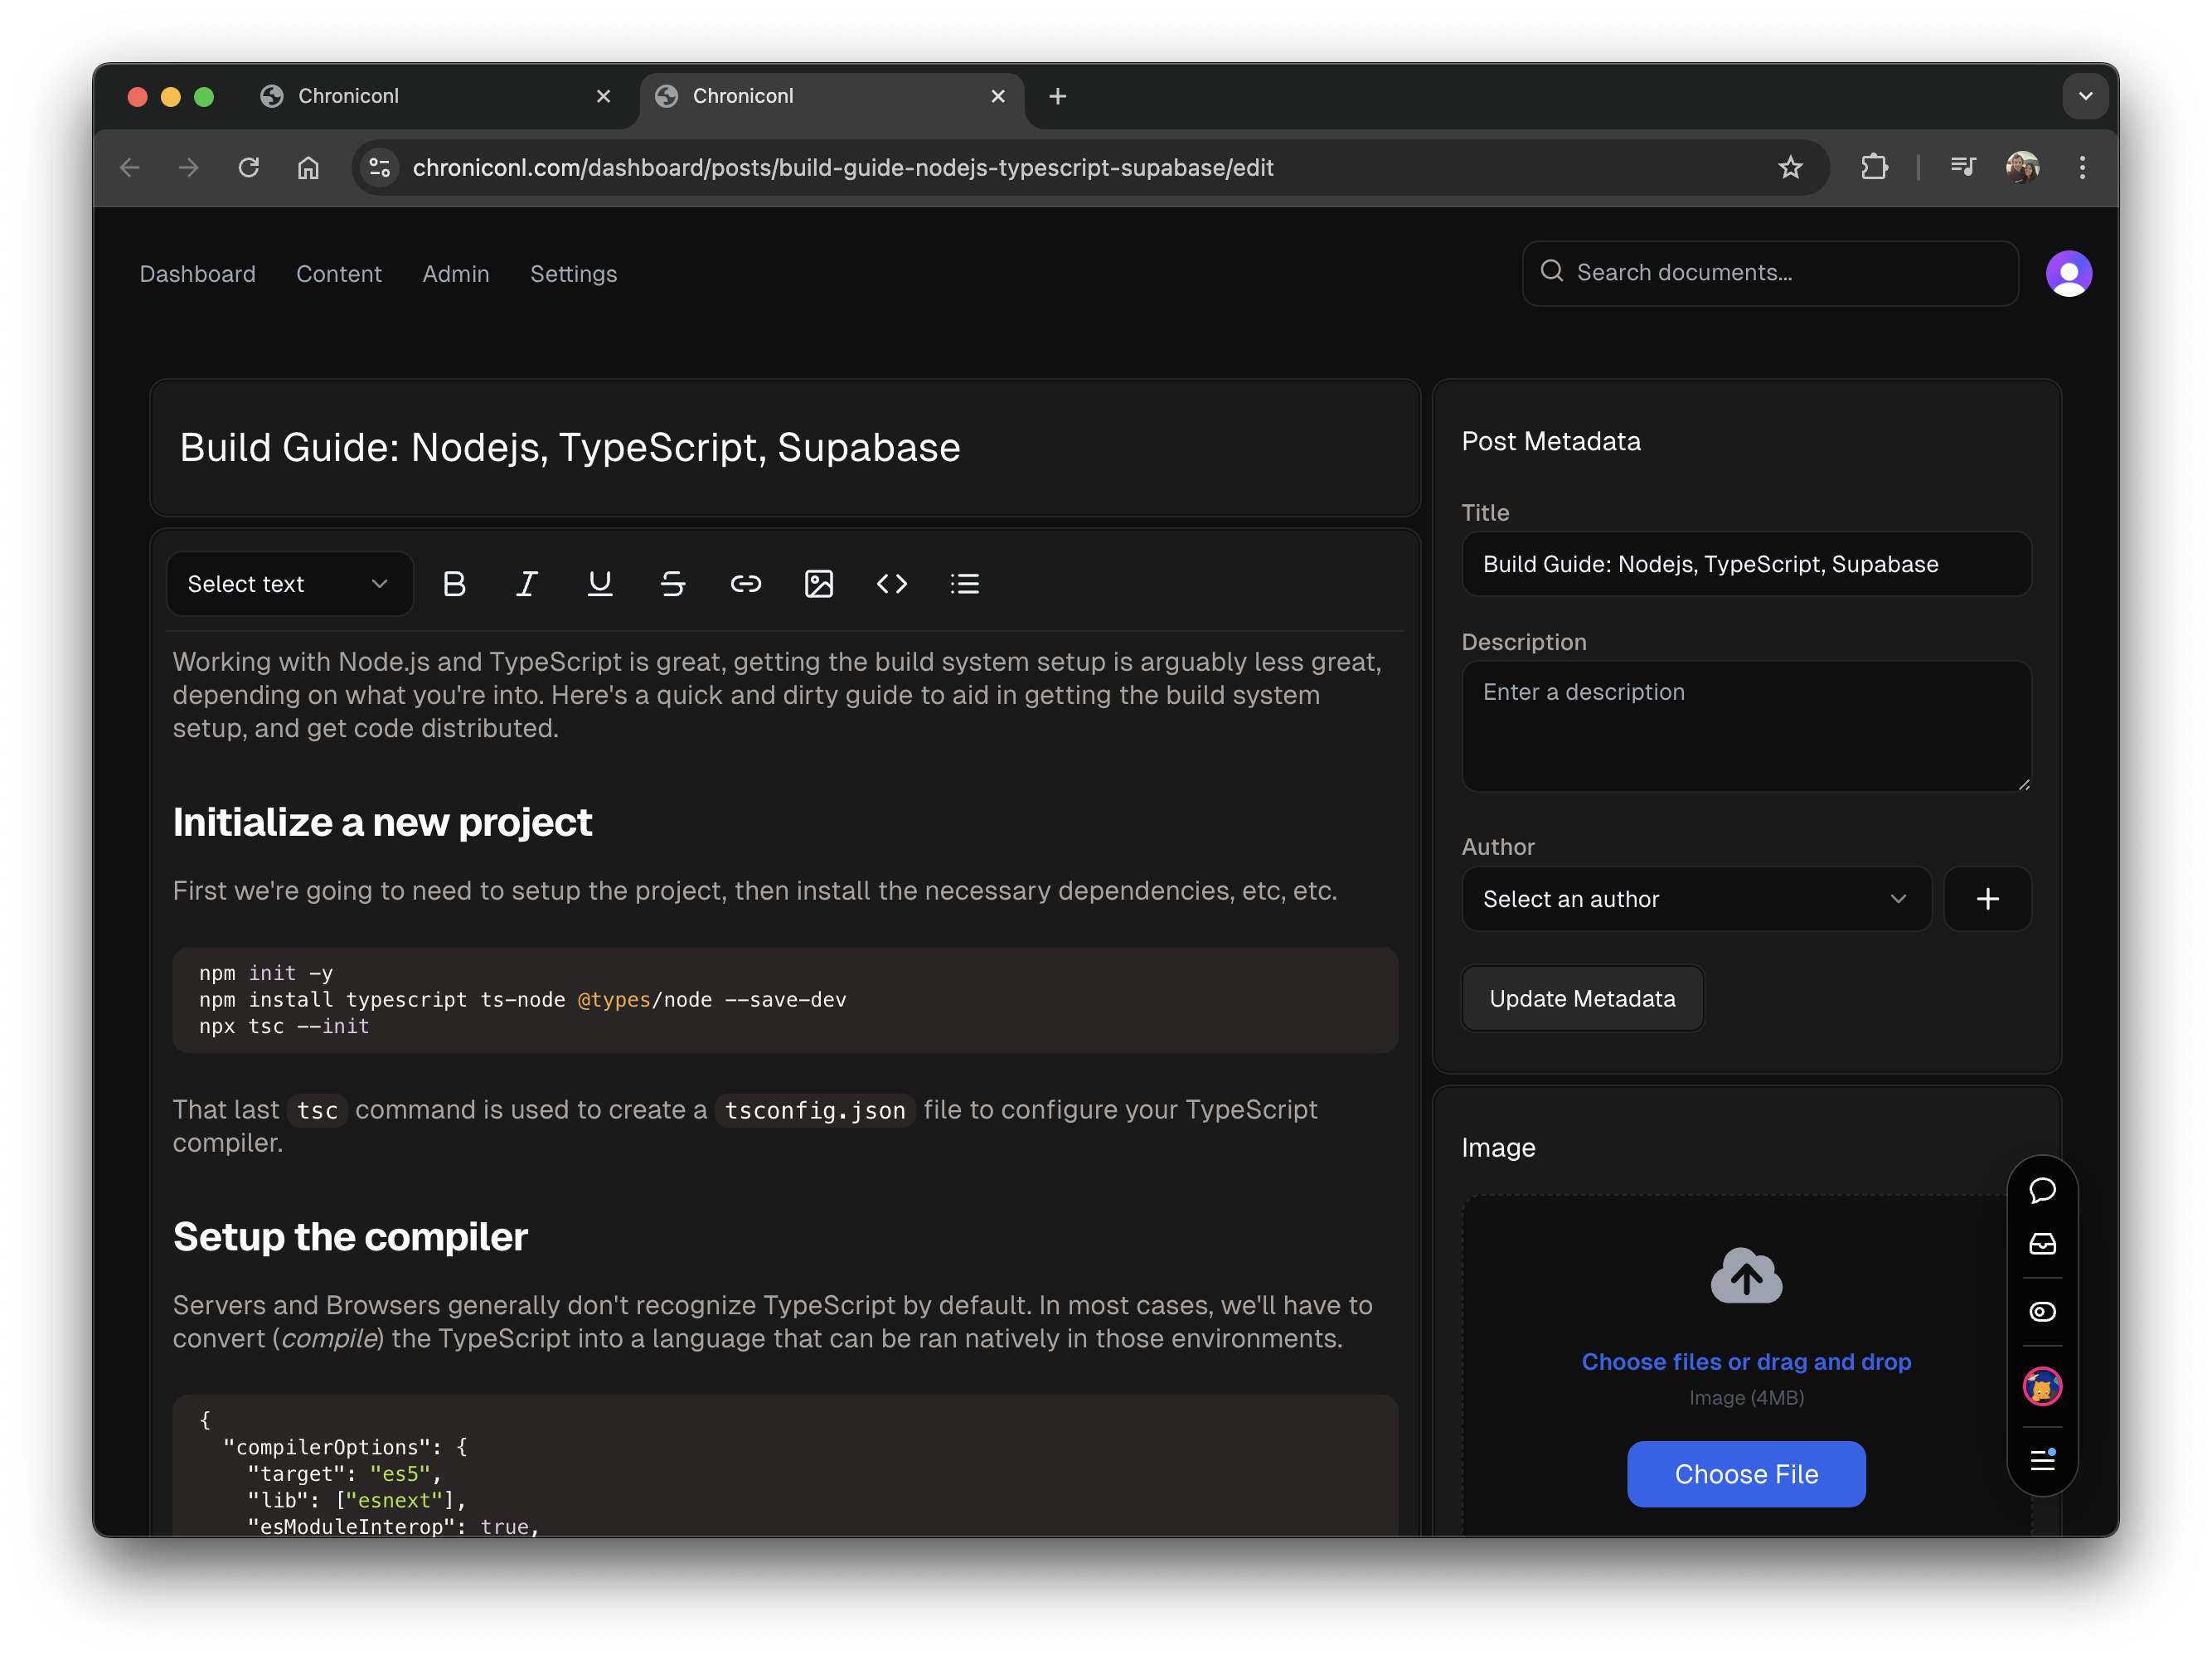
Blog post management
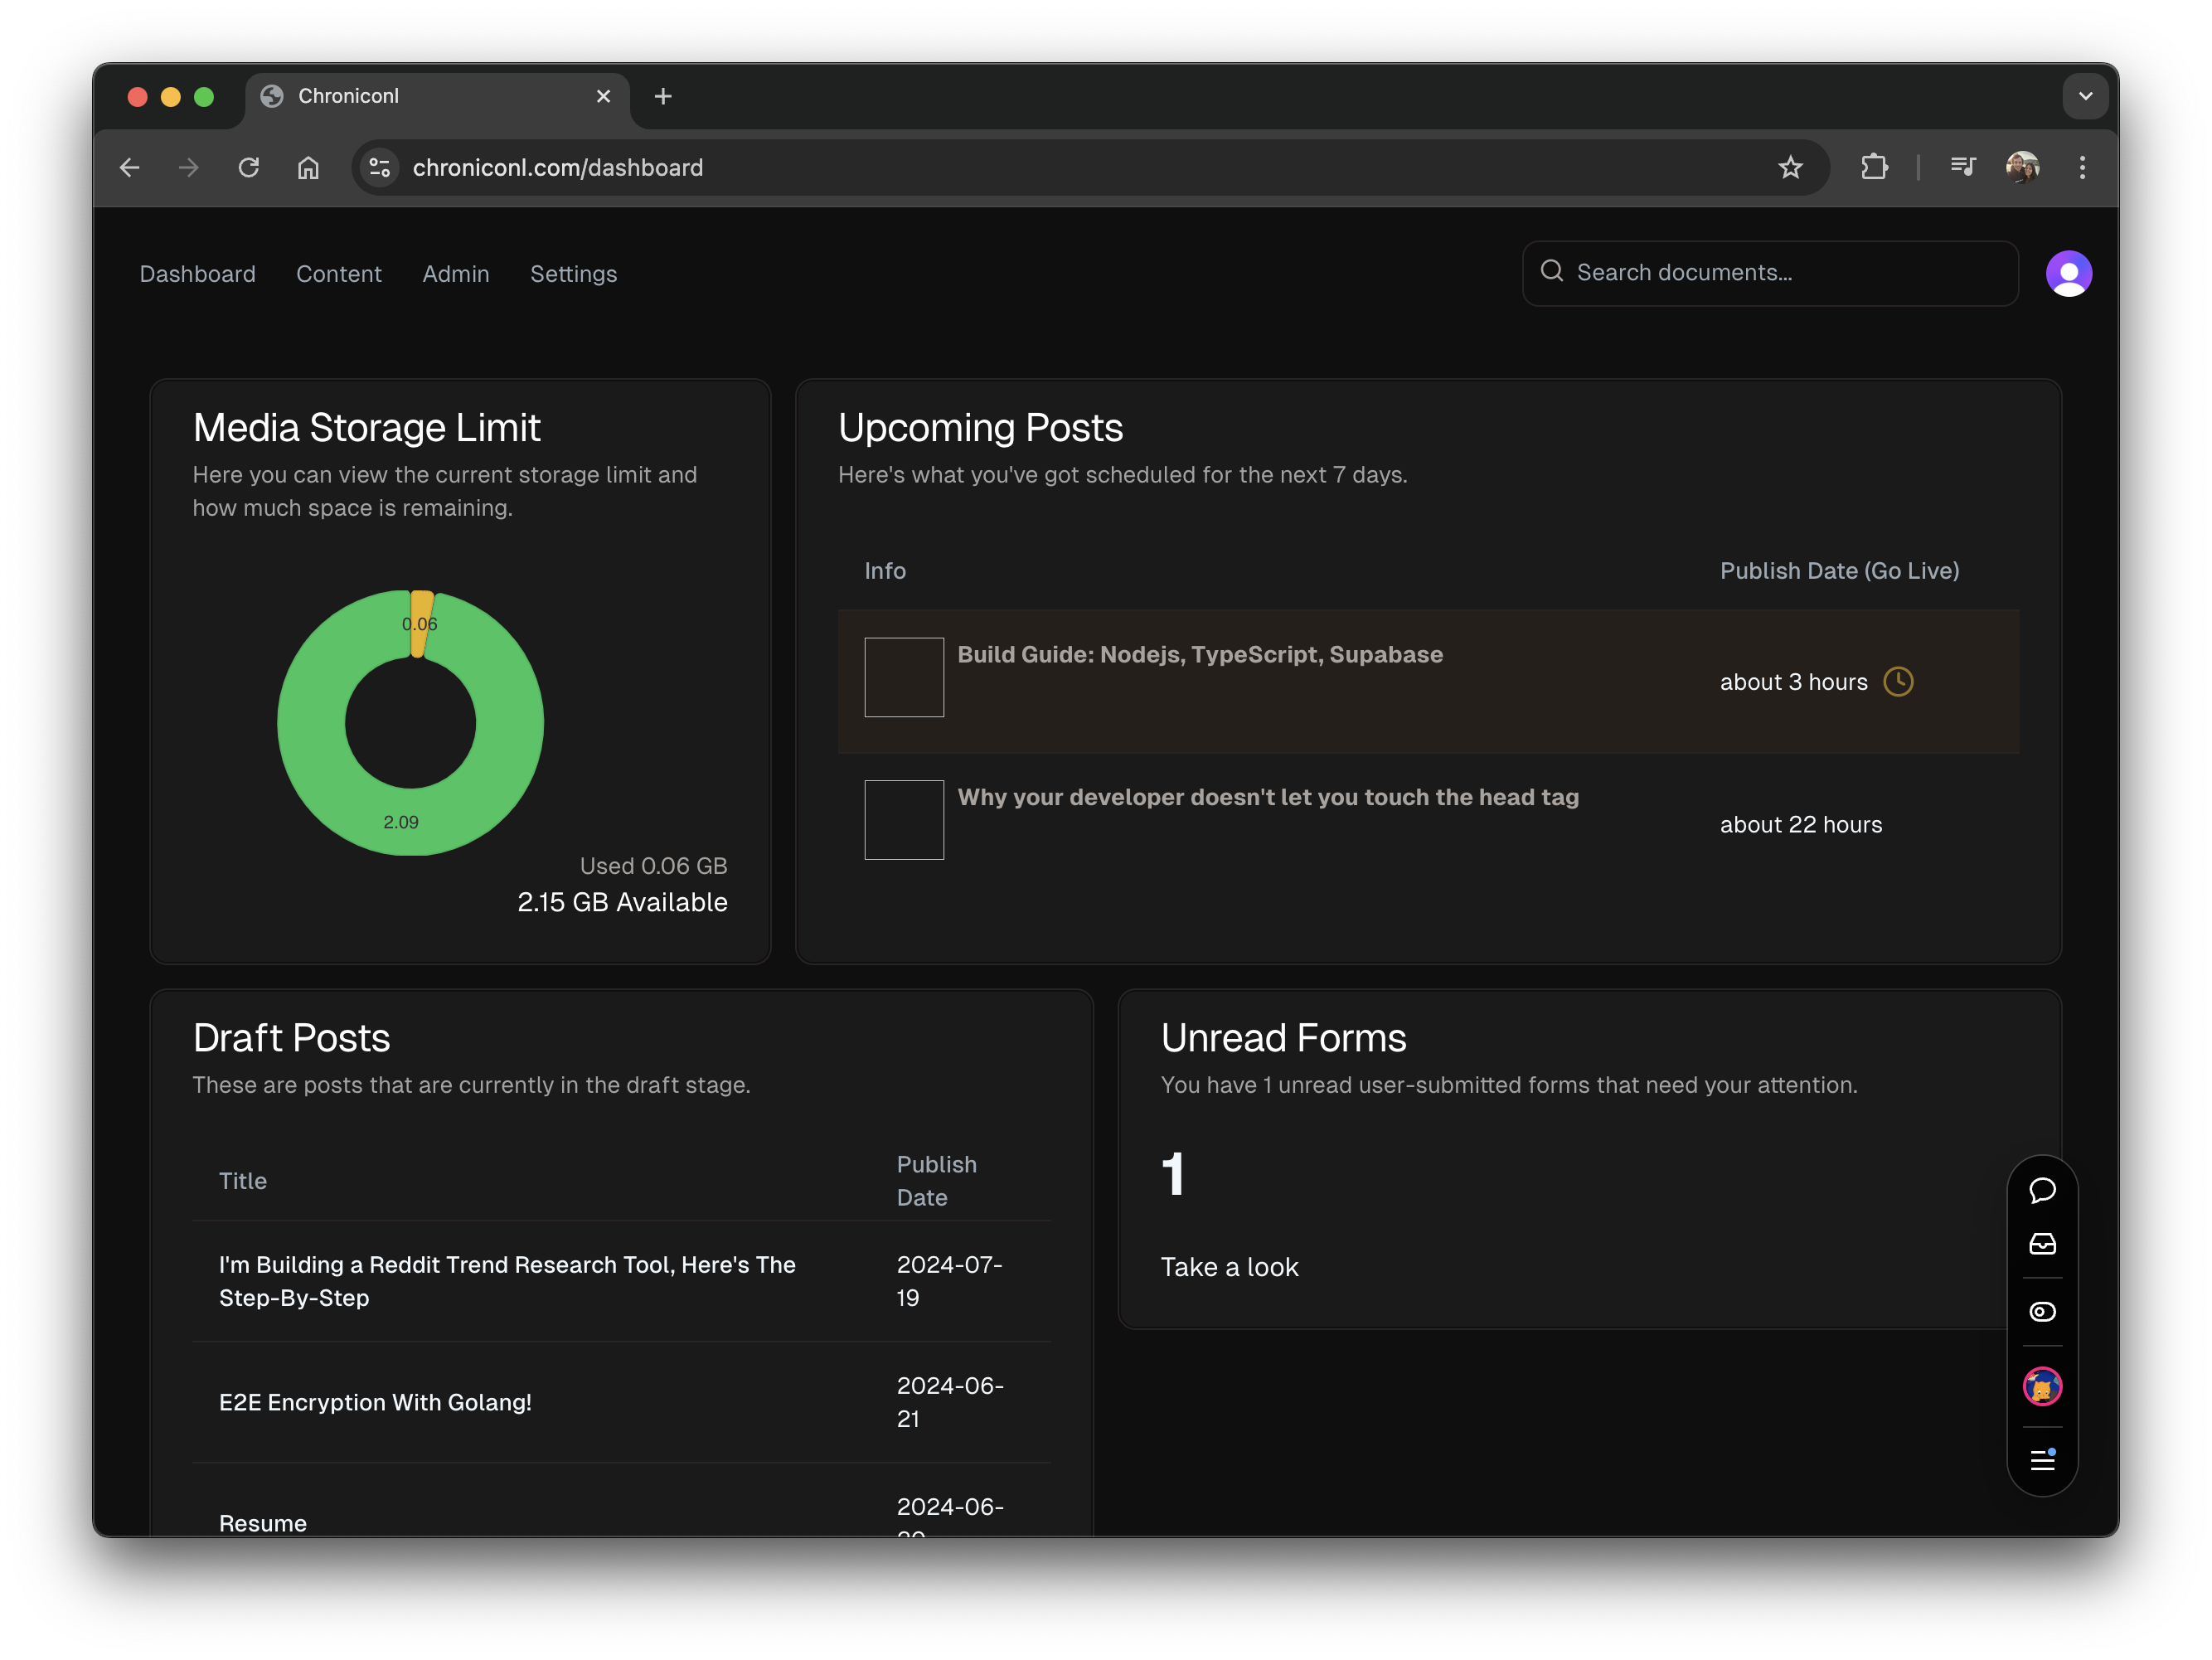
Post dashboard
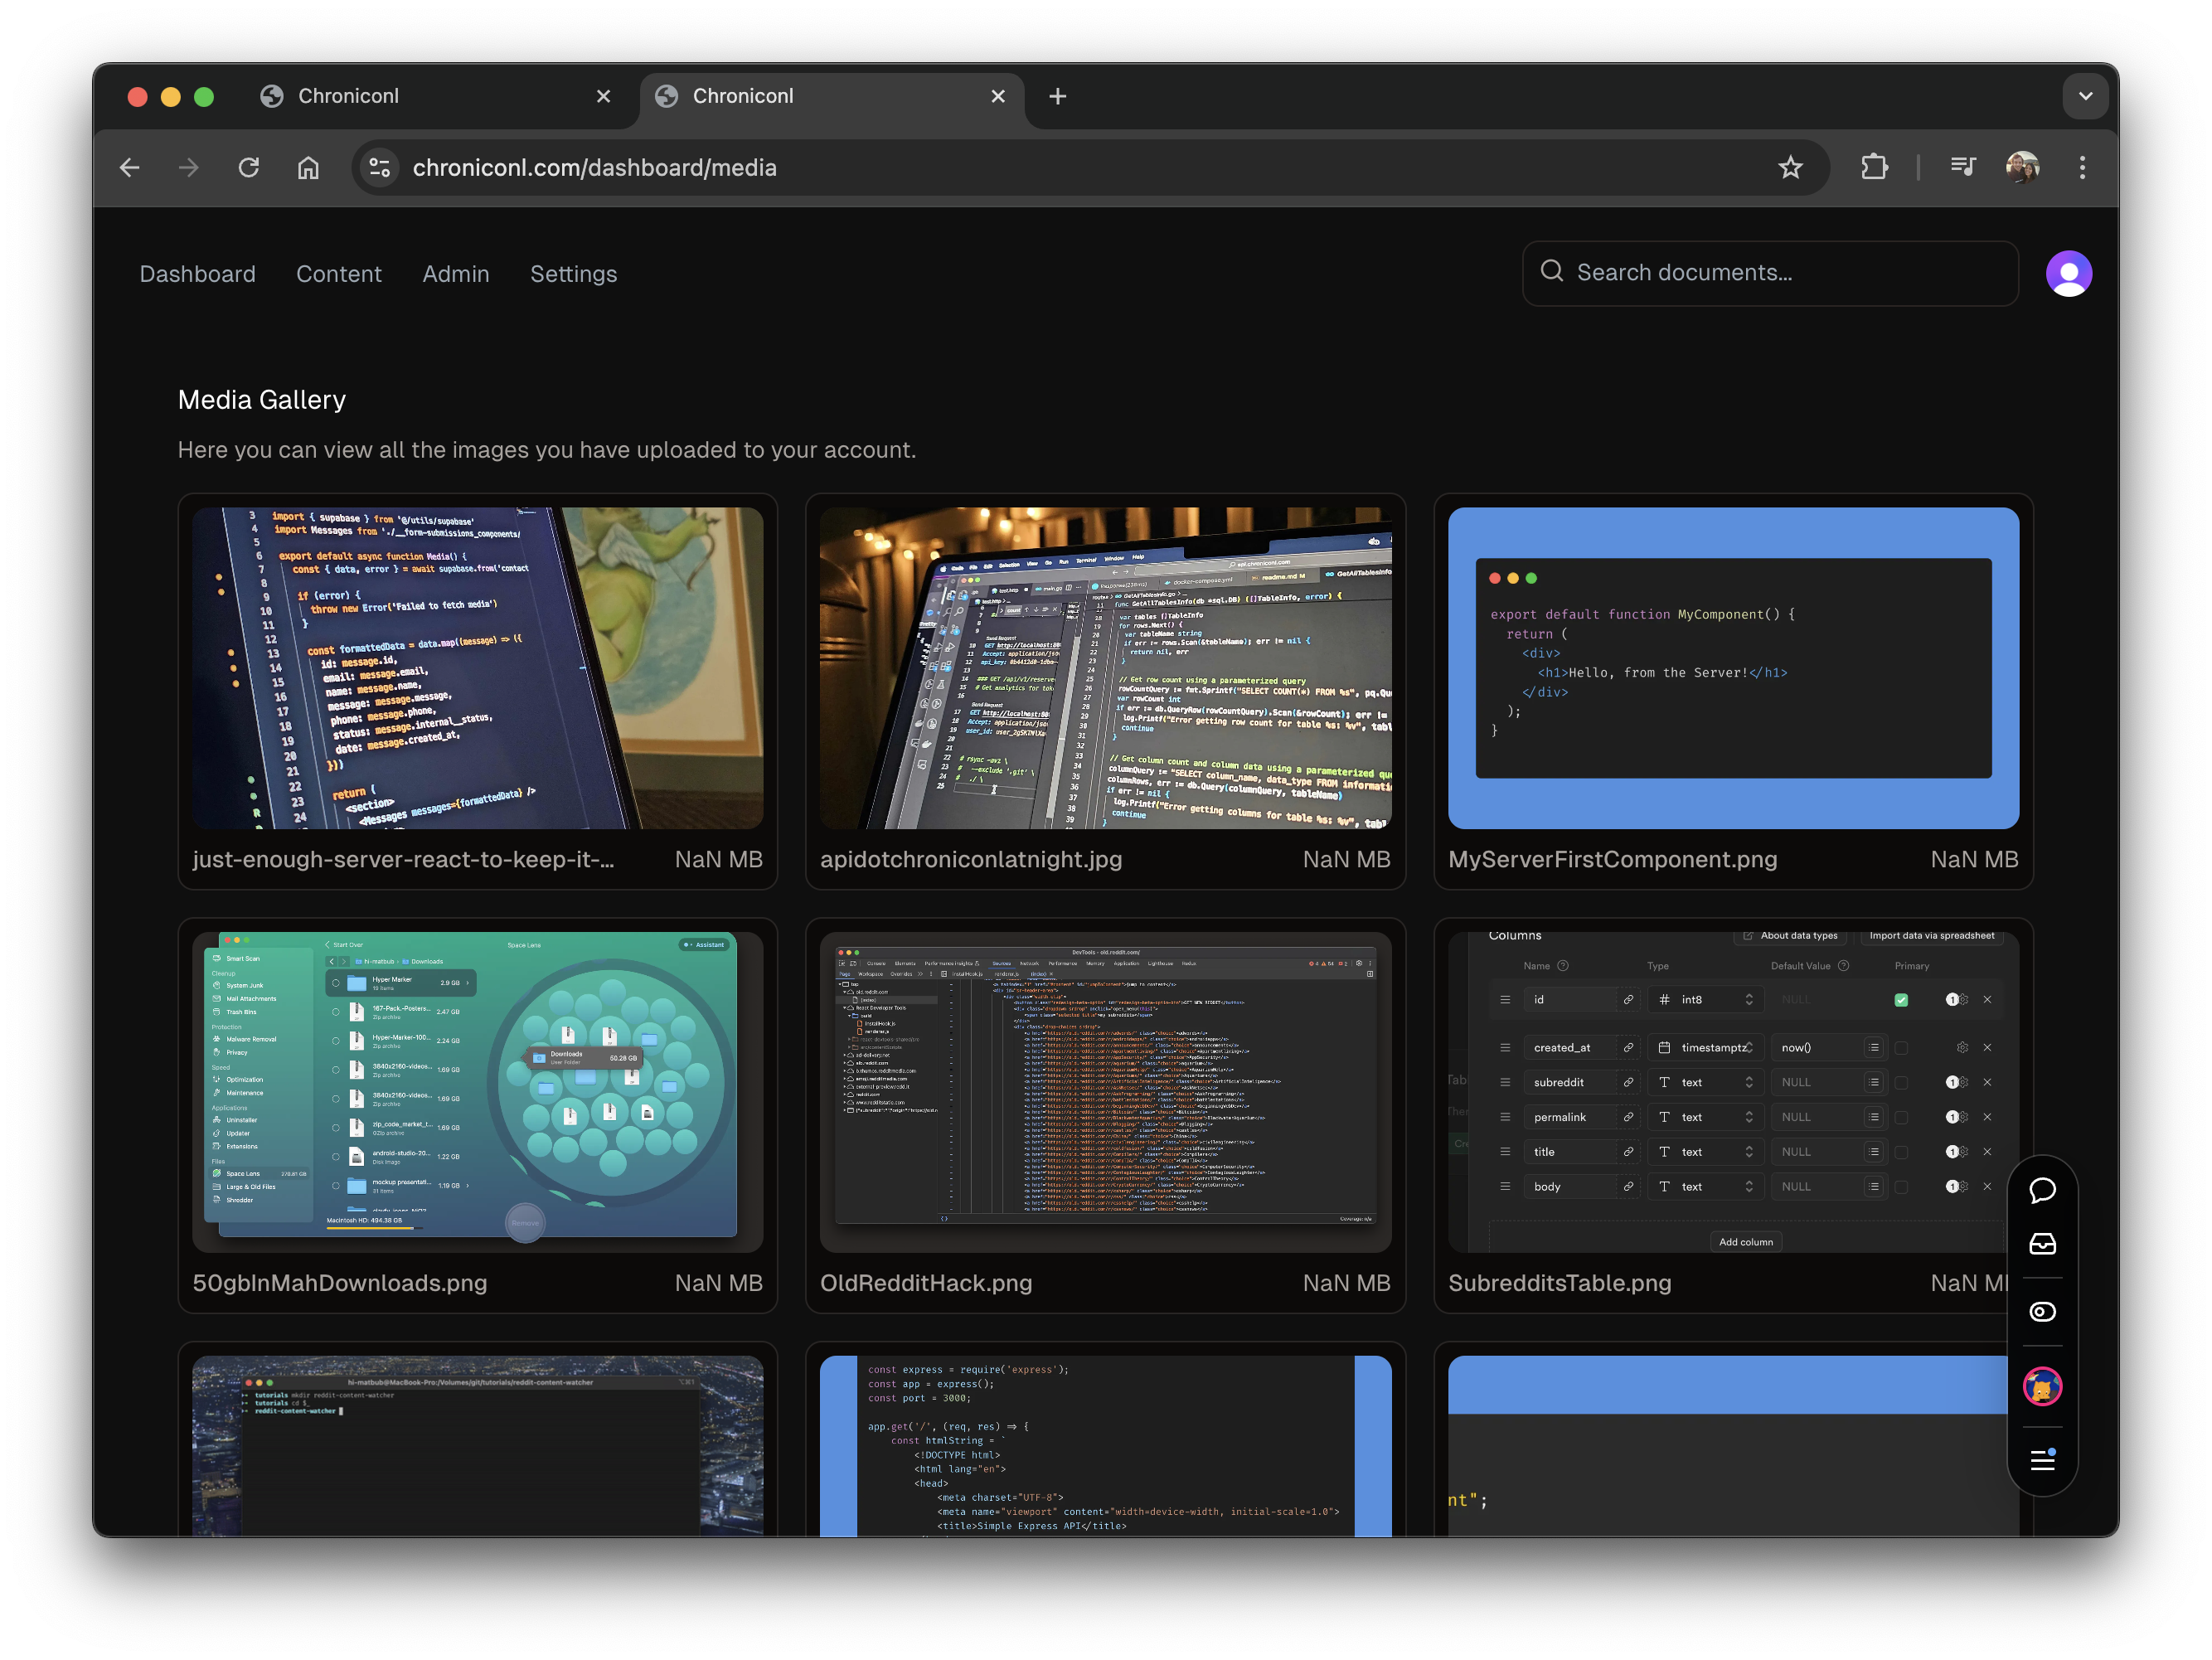
Media gallery
More coming soon...
Why build a CMS when you could use one of the many alternatives?
- I'm having fun taking this project as far as it can go.
- Node.js
- Pnpm
- GitHub account (Some knowledge of Git is required)
- $ Vercel account (Hosting)
- $ Supabase account (API keys required)
- $ Clerk account (API keys required)
- $ Resend account (API keys required)
I'm working on consolidating some of these. Please check back soon or consider contributing if you'd like to help out.
First, clone the repo:
git clone https://github.com/chroniconl/cmsNavigate to the root directory and run pnpm install.
cd cms
pnpm installYou can use the example.env.local file as a template for your .env.local file. Note the comments in the file, follow the links provided to obtain your API keys. If you try to start the project without these keys, you'll run into errors or at the least, unexpected behavior.
# Development Options
DEV=true # or DEVELOPMENT=true

# Site URL
# Example: https://example.com
NEXT_PUBLIC_SITE_URL=

# https://dashboard.clerk.com/apps
NEXT_PUBLIC_CLERK_PUBLISHABLE_KEY=
CLERK_SECRET_KEY=

# You don't need to change these!
# They map to files we've defined in the app router `./src/app/*`
NEXT_PUBLIC_CLERK_SIGN_IN_URL=/sign-in
NEXT_PUBLIC_CLERK_SIGN_UP_URL=/sign-up
NEXT_PUBLIC_CLERK_AFTER_SIGN_IN_URL=/
NEXT_PUBLIC_CLERK_AFTER_SIGN_UP_URL=/

# https://supabase.com/dashboard/project/
NEXT_PUBLIC_SUPABASE_URL=
NEXT_PUBLIC_SUPABASE_ANON_KEY=
SUPABASE_SERVICE_ROLE_KEY=
SUPABASE_STORAGE_BUCKET_URL=

RESEND_KEY=
ADMIN_EMAIL=
Follow the steps in the Supabase doc to get setup with Supabase.
Now that you have your .env.local file set up, and storage is setup in Supabase, you can start the project.
pnpm run devThis will start the project in development mode, and you can make changes to the code and see the changes in real-time. Visit http://localhost:3000 to view the project.
Once you're ready to deploy, you can use Vercel to deploy the project to your own domain.
- Create a Vercel account if you don't already have one.
- Navigate to the project on Vercel.
- Click the "Deploy" button.
- Follow the prompts to deploy the project to your own domain.
- Fork this repository
- Clone the forked repository to your local machine, or open a new Code Space
- Checkout to a clean branch. e.g git checkout feature/addSomeCode (Please be more descriptive)
- (Follow the steps in Getting Started to install dependencies)
- You're all set up. Run pnpm run build to run the production build and ensure everything is working. If not, please open an issue in https://github.com/chroniconl/cms/issues 🙂
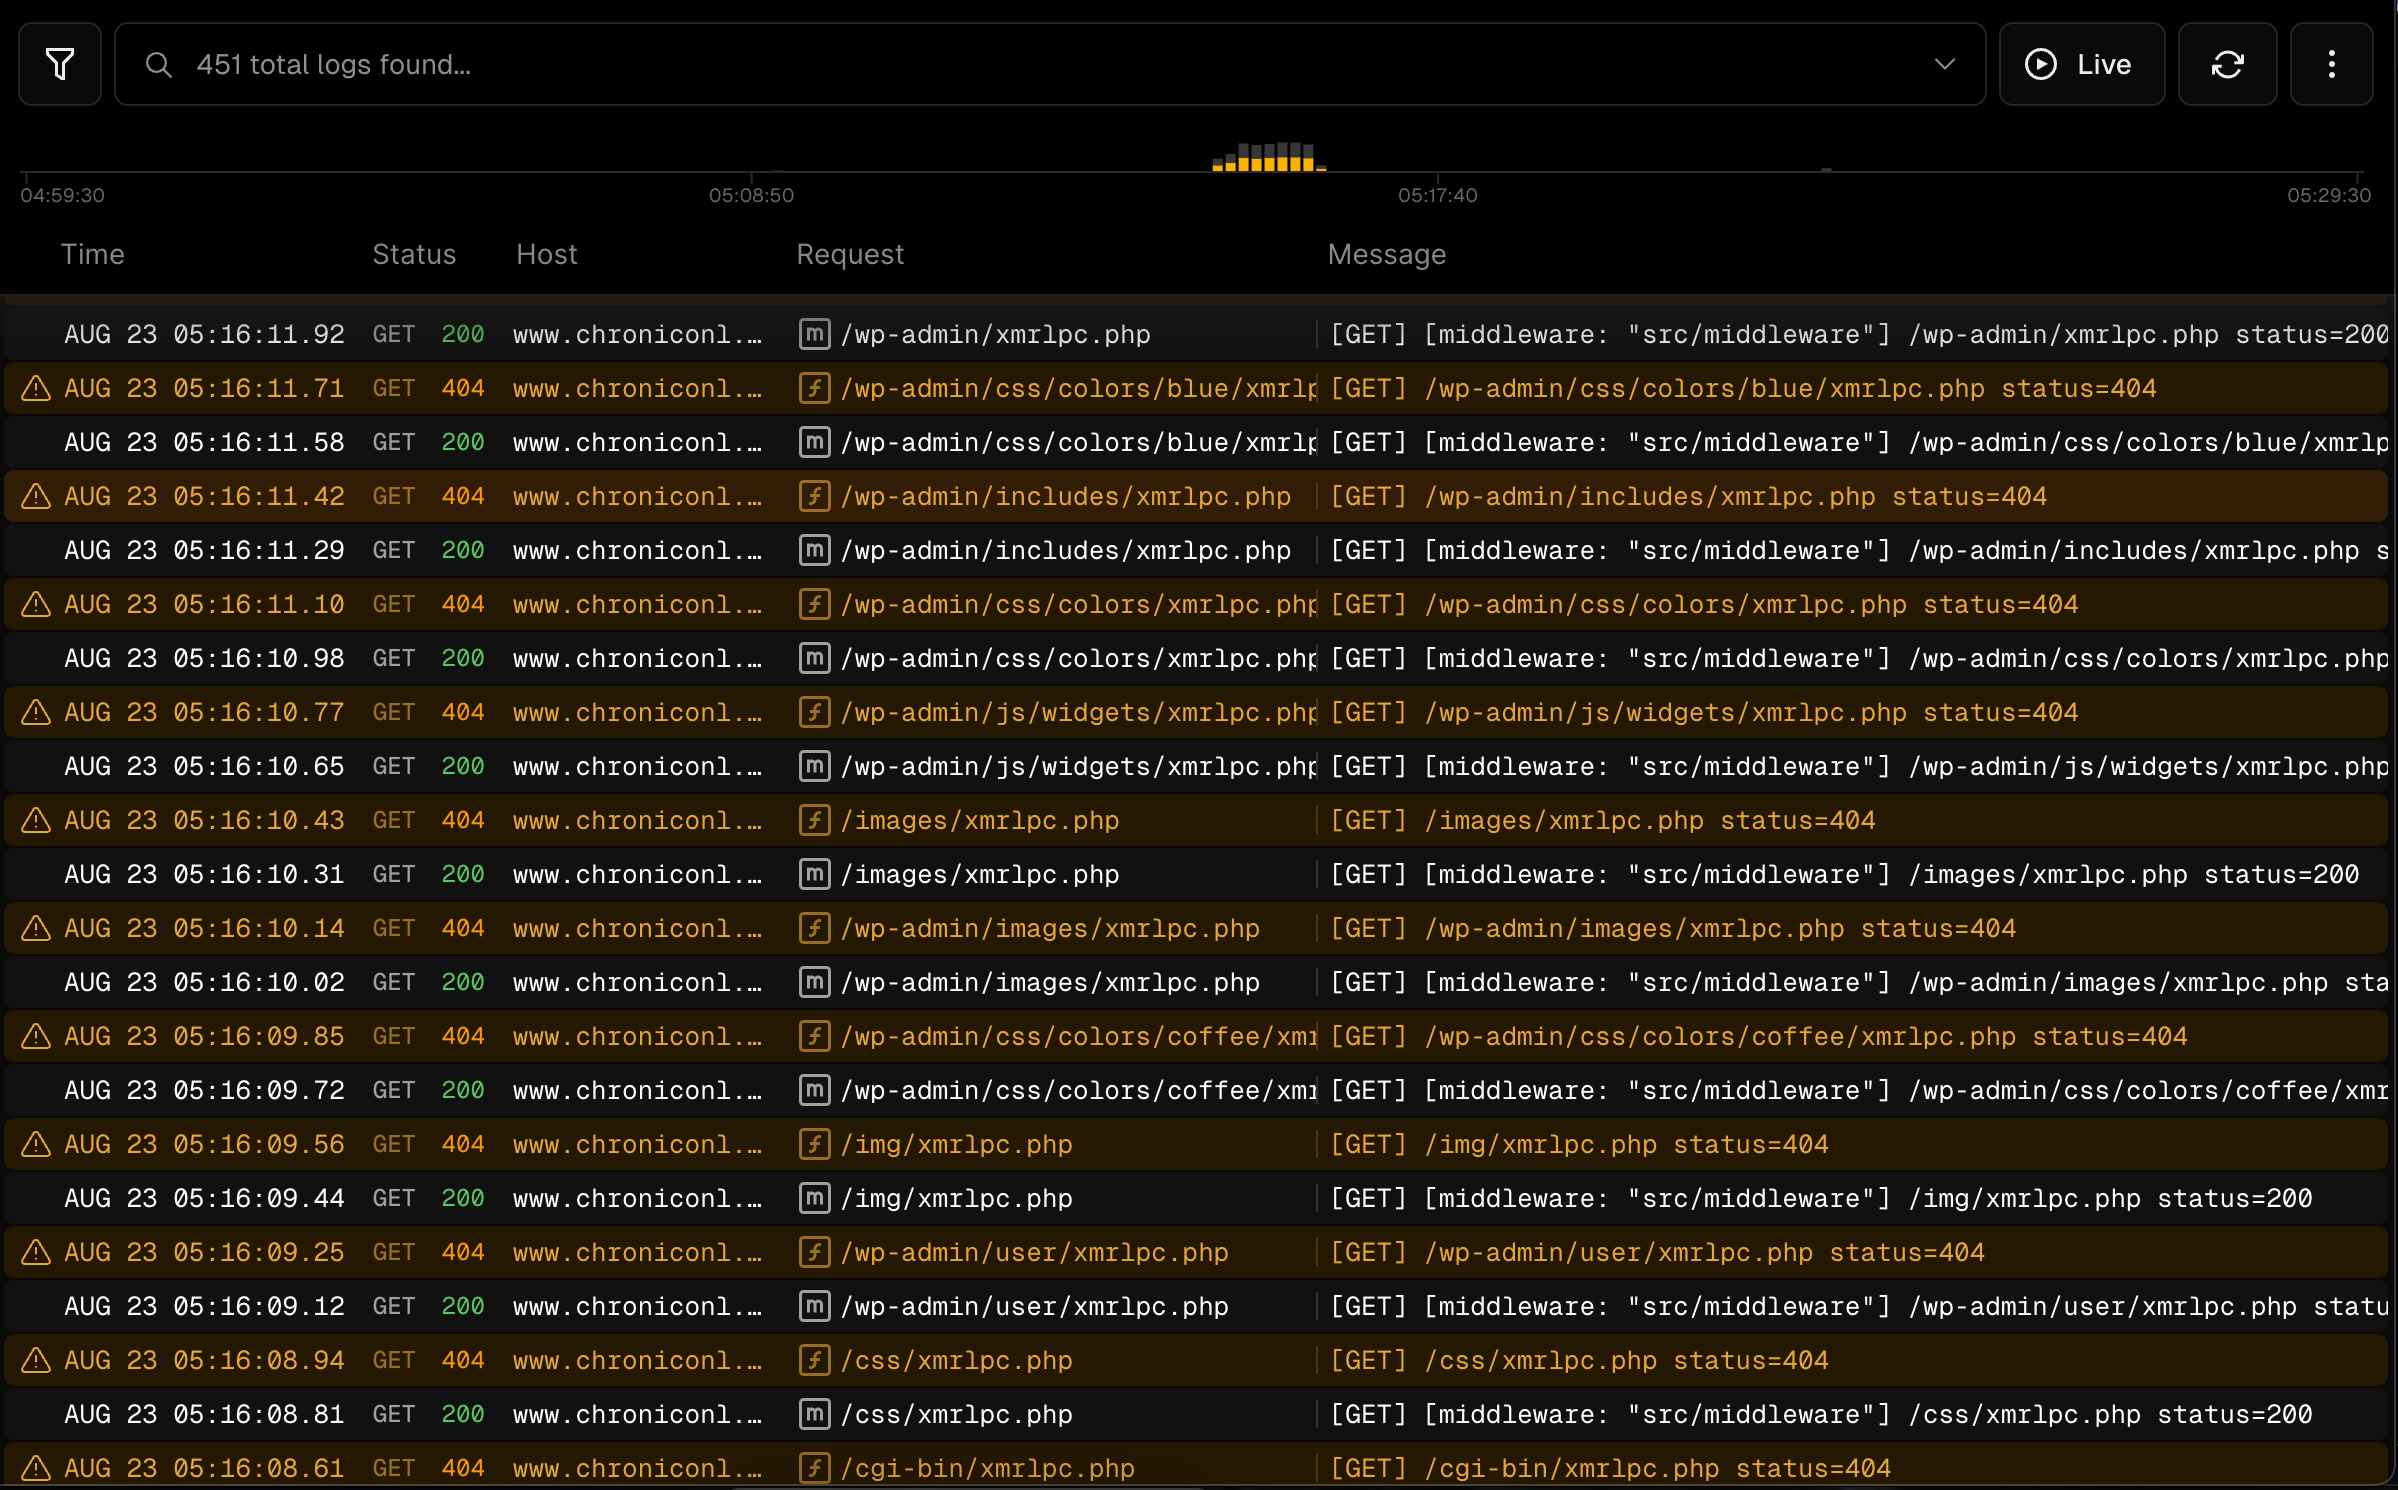
Security for the most part. I once deployed api.chroniconl.com to Digital Ocean and not even 15 minutes later I had bots crawling my site for what I assume to be potential vulnerabilities in WordPress architecture. This is the kind of behavior I often see.
If you've already created a blog post and are expecting it to show up on the homepage or be accessible via direct link, make sure you've set the posts "Visibility" field to "Public". In addition, ensure the "Publish Date" field is set to a point in the past.