How to use I2C in NuttX #11
Description
In NuttX you can't acces to some resources such as GPIO control, I2C directly from the App (There is some exceptions like I2C Tool) so you must create a driver to have access to it.
In this guide I'll show how to use properly in a driver. This guide is only to understand how to use I2C, if you want to know how to develop a driver go here -> How to develop a NuttX driver
Configuration:
Go to: System Type -> STM32 Peripheral Support -> I2C1 (Check)(Or the I2C bus that you want to use)
Go to: Device Drivers->I2C Driver Support(Check)
Code on the driver:
Library:
#include <nuttx/i2c/i2c_master.h>
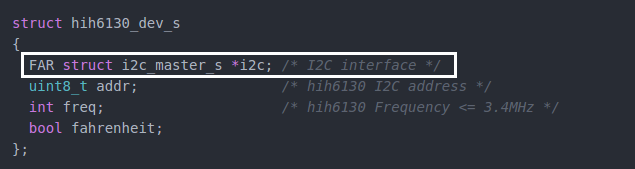
If you already seen the driver guide, you will know that the essential data of the driver are save in a structure, so in this structure, you add the communication protocol that you are using, so in this case we call to the I2C struct.
This is an example of configuration to get one byte of information from the device.
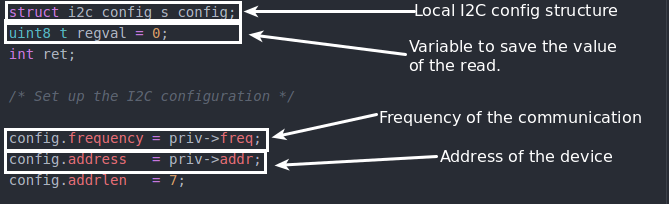
The return variable must have the same size(in Bytes) of the size of the read register.
The frequency and the address are previously added to the global structure.
Write
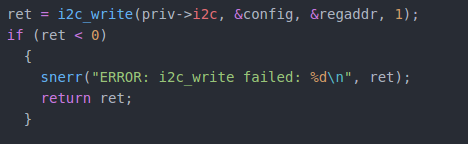
Arguments of the function(From right to left):
-I2C interface that we're going to use.
-Specific configuration to this connection.
-Address of register that we want to access.
-Number of bytes that we're sending.
Read
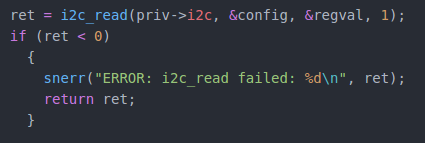
Arguments of the function(From right to left):
-I2C interface that we're going to use.
-Specific configuration to this connection.
- Where we're going to save the return data. ** Important **: This variable must have the same size of the register that we are reading.
-Number of bytes that we expect to receive.
If you want deep or in context information I recommend you to check the driver of the HIH6130,BMP180 or INA219 which are quite simple drivers.